

CHEON

Top Image
wavy logo

Wavy, Wearable Pulse oximetry

This project aims to develop pulse oximetry and straps that can be worn on the human body.

To ensure a secure and stable fit even during physical activities, the design process focused on shape study through prototyping and user testing to find the most suitable form for the human body.


Designed by Cheolhun Cheon

Logo

  • University-Industry Collaboration Project
  • 12 weeks
  • 2021 Apr - Jun

Week1-2

study on subject and set development goals before designing.

Project Image1

Background

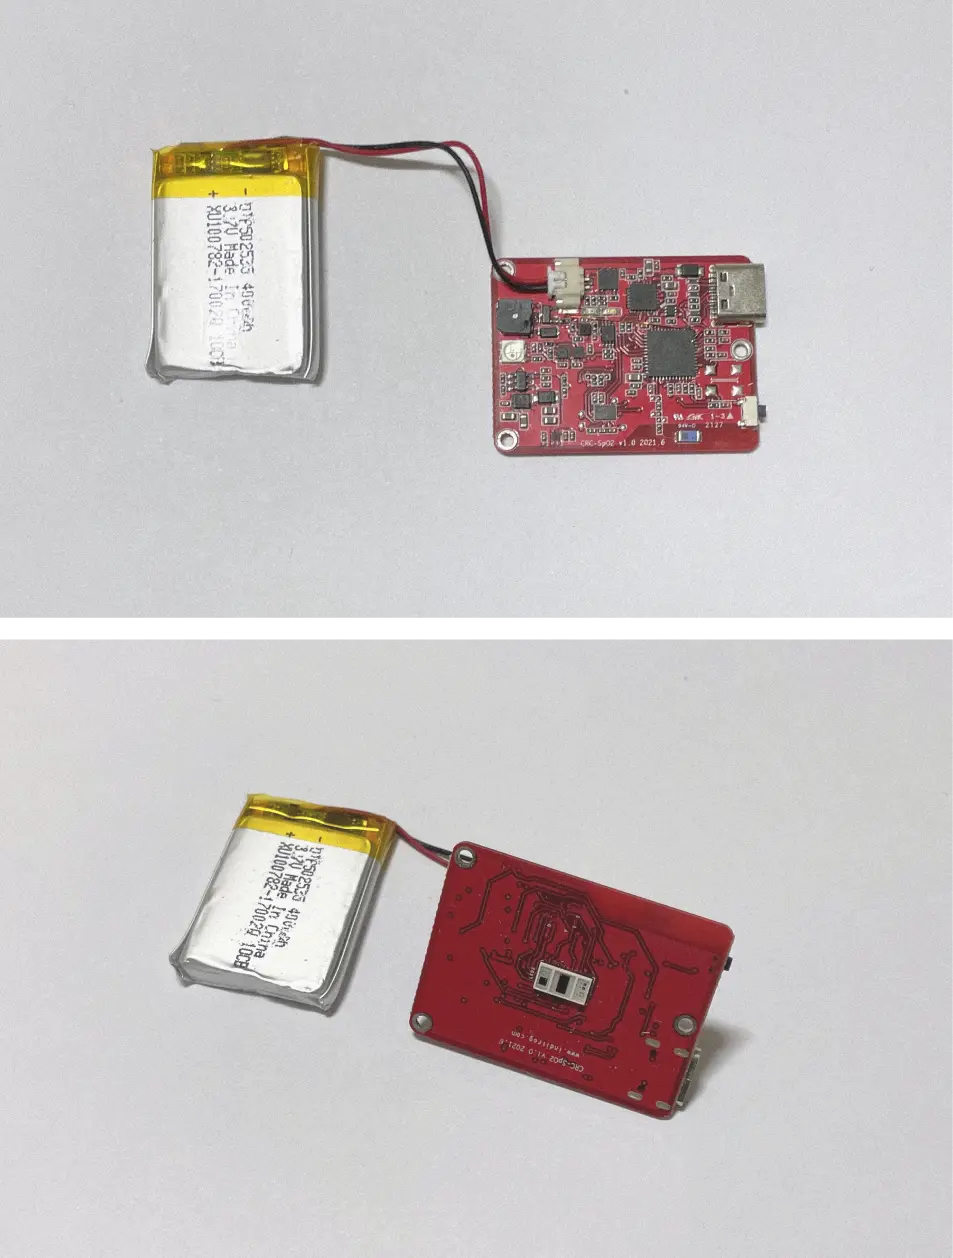
This project was carried out in collaboration with the Engineering department. The department asked for the design of the oximetry with two requirements.

1. Develop oximetry based on the given board and battery.
2. Develop oximetry that can alert dangerous conditions during exercise.
Project Image2

Study on existing products & Set development goals

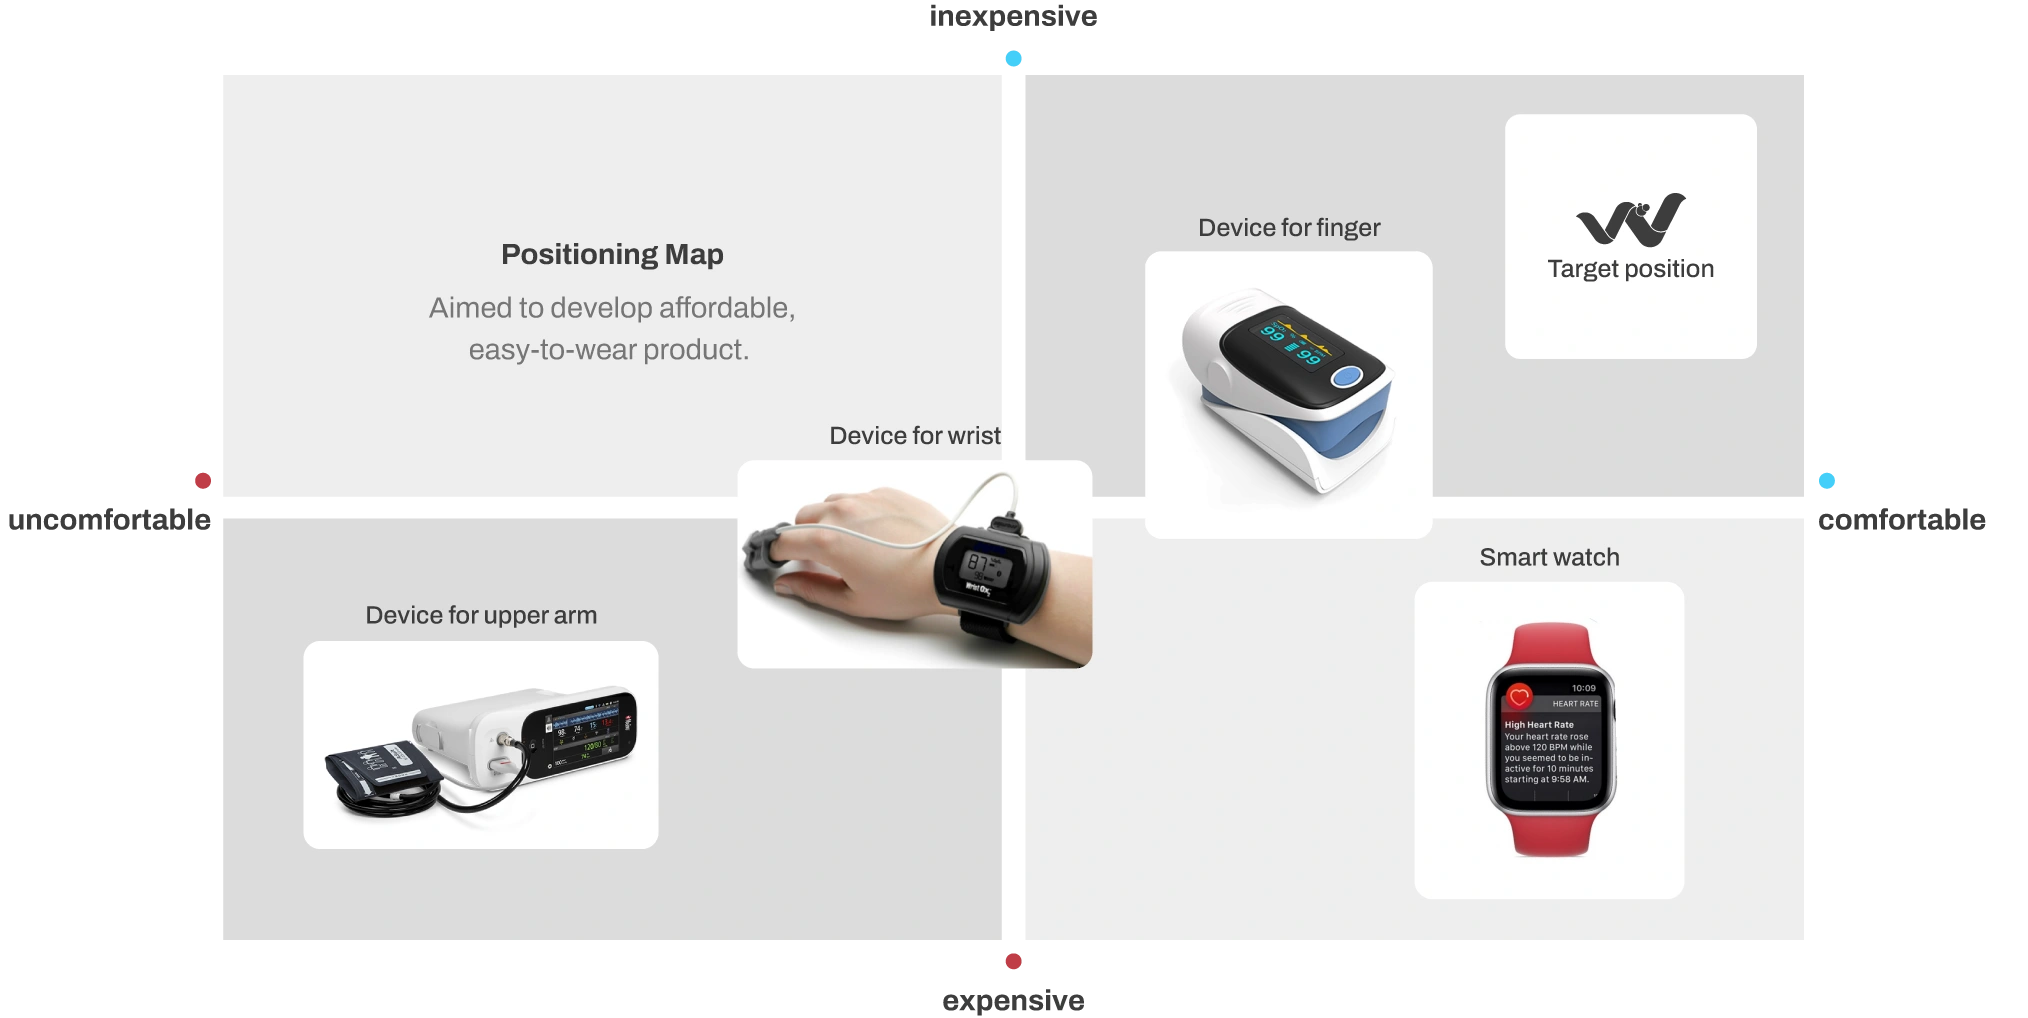
The products developed for medical use have the disadvantage that it is difficult to exercise while wearing them, and smart watches that can be used while exercising are super expensive.

The goal of the design is to propose a product that is inexpensive and can be worn while exercising.


Week3-4

Set the concept and design direction of the device and holder.

Device

Without display

Cost savings by removing the display from the PCB because the purpose is not to monitor oxygen data in real-time.


By sound

Sound alerts the user when oxygen saturation reaches a hazardous level during exercise.
Holder

Holder Image

The holder ensures secure placement and easy accessibility during use.

Q1. Where on the body can the oximetry most accurately measure oxygen saturation?

question1

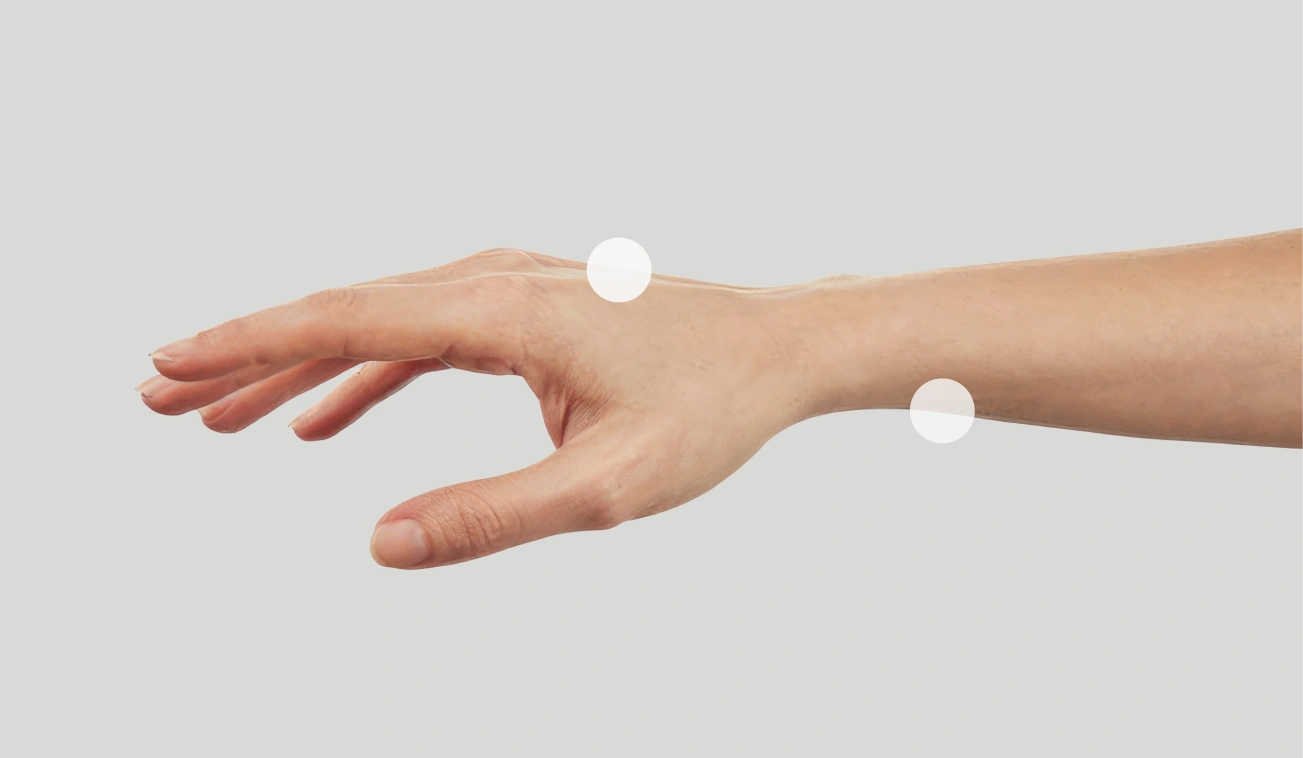
Backhand & Upper arm

Oxygen saturation is most accurately measured in the backhand and wrist.
So, aim to design the device to be suitable for both parts.

Q2. How to wear the device easliy and tightly on the backhand and upper arm?

question2
question3

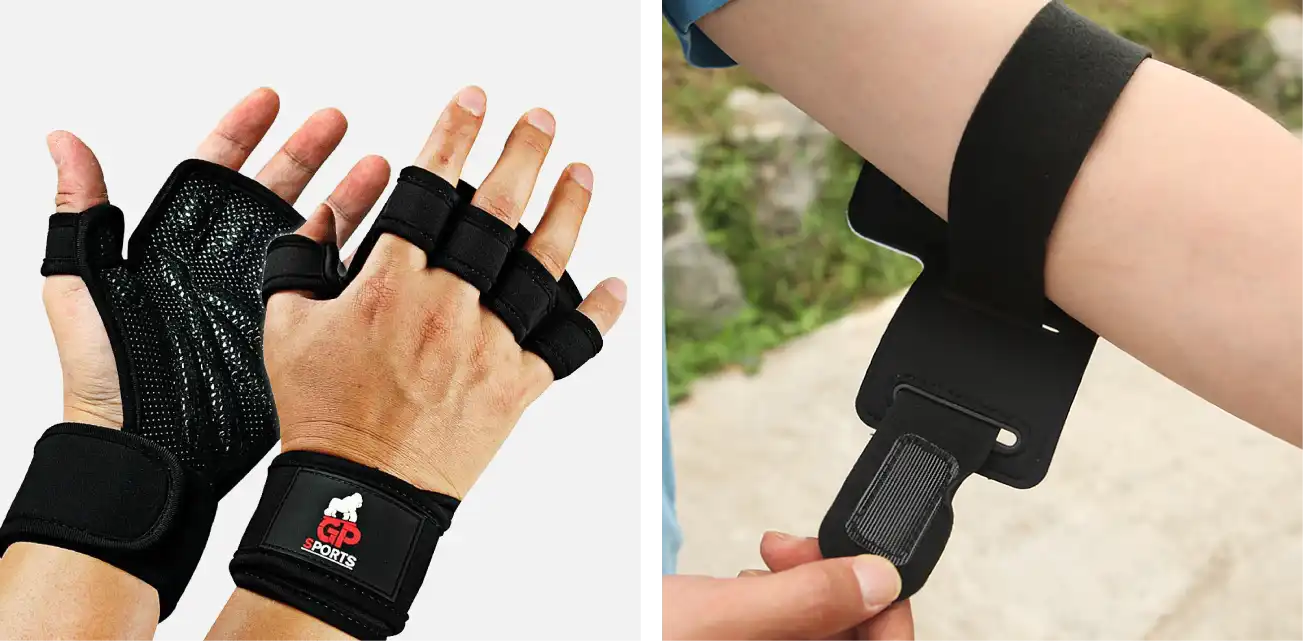
Refer to the sports equipments

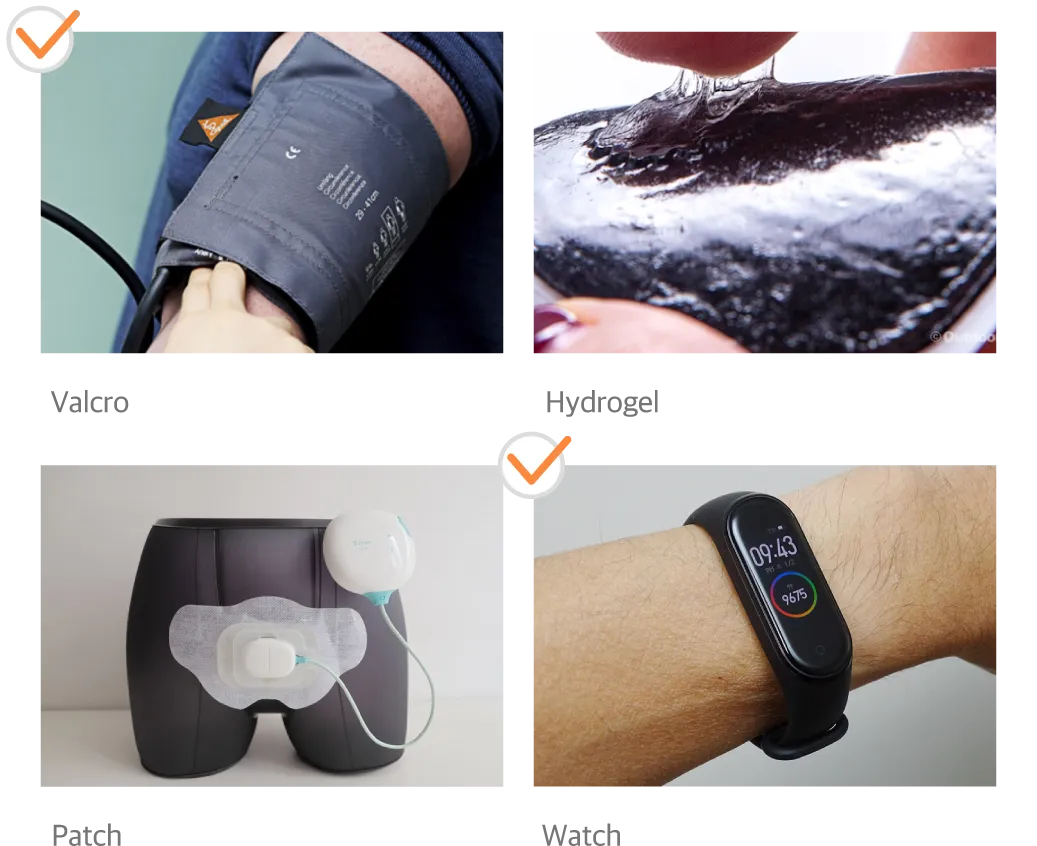
Sports equipment is ergonomic and has good wearability.

So, the design will be carried out with a concept that combines sports equipment and medical devices.

Week5

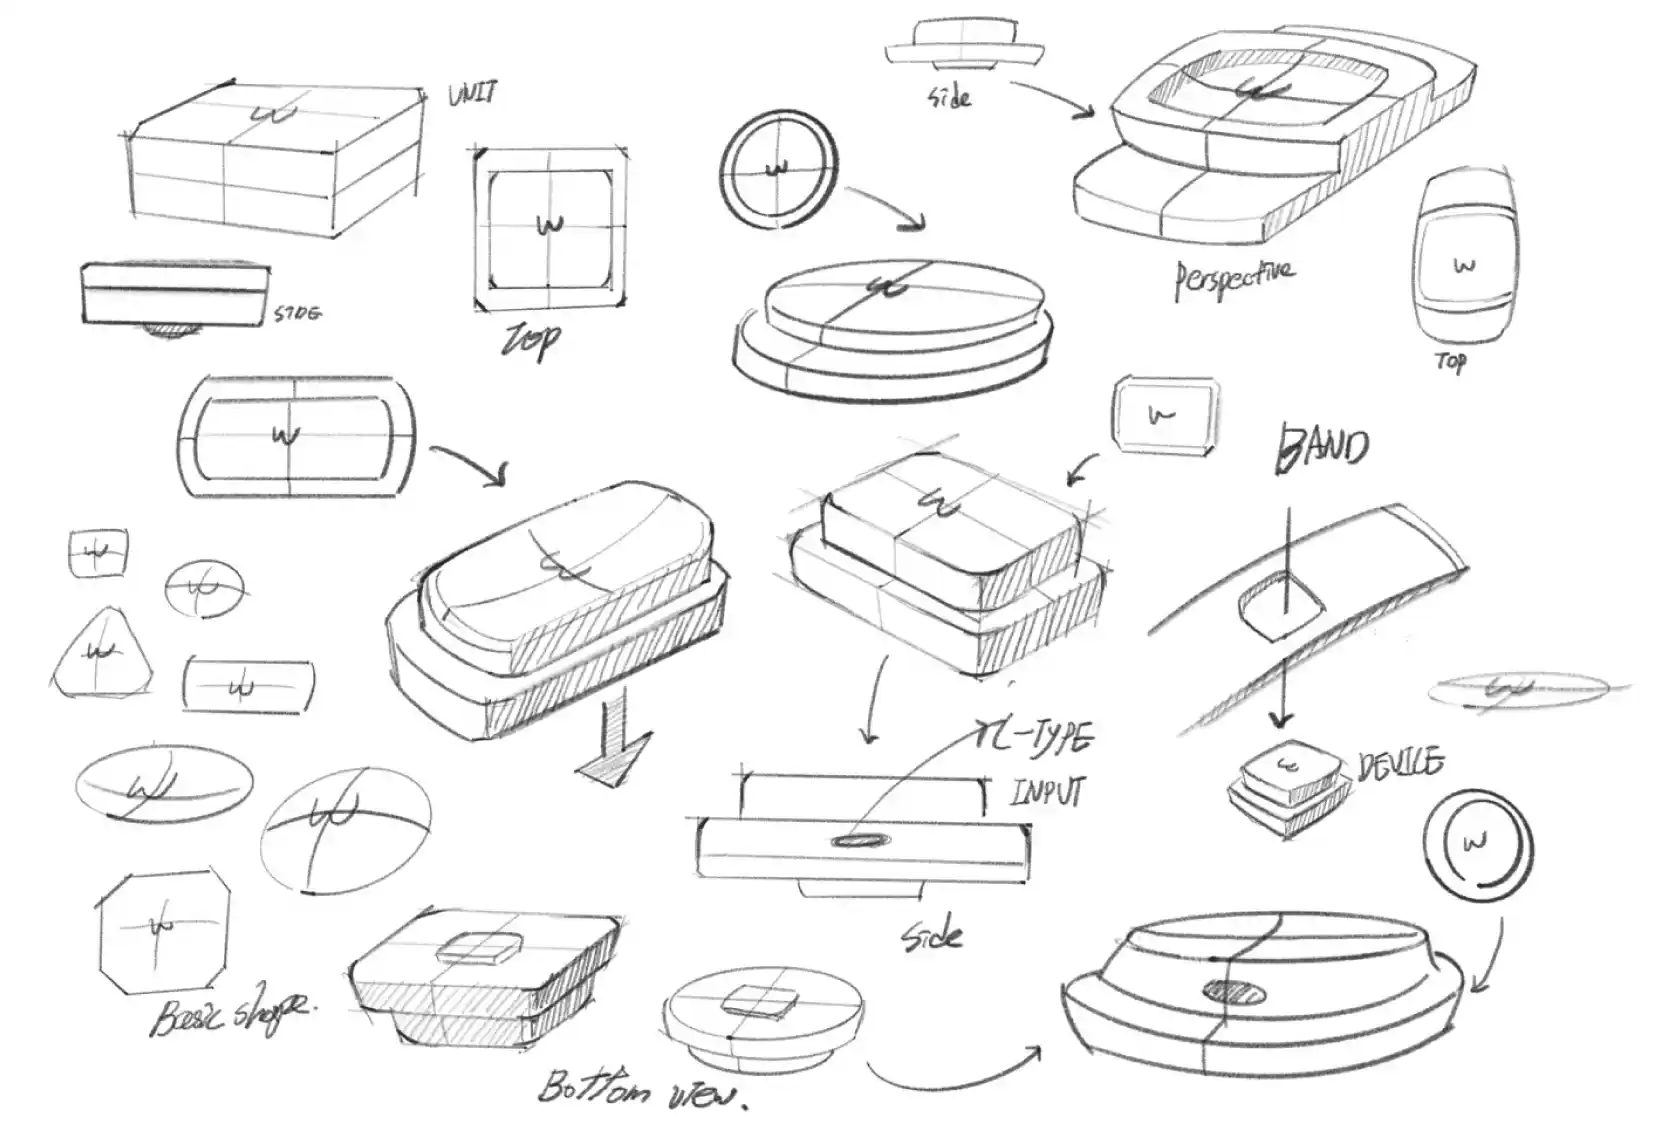
Set the concept and design direction of the device and holder.

Sketch Image 1-1

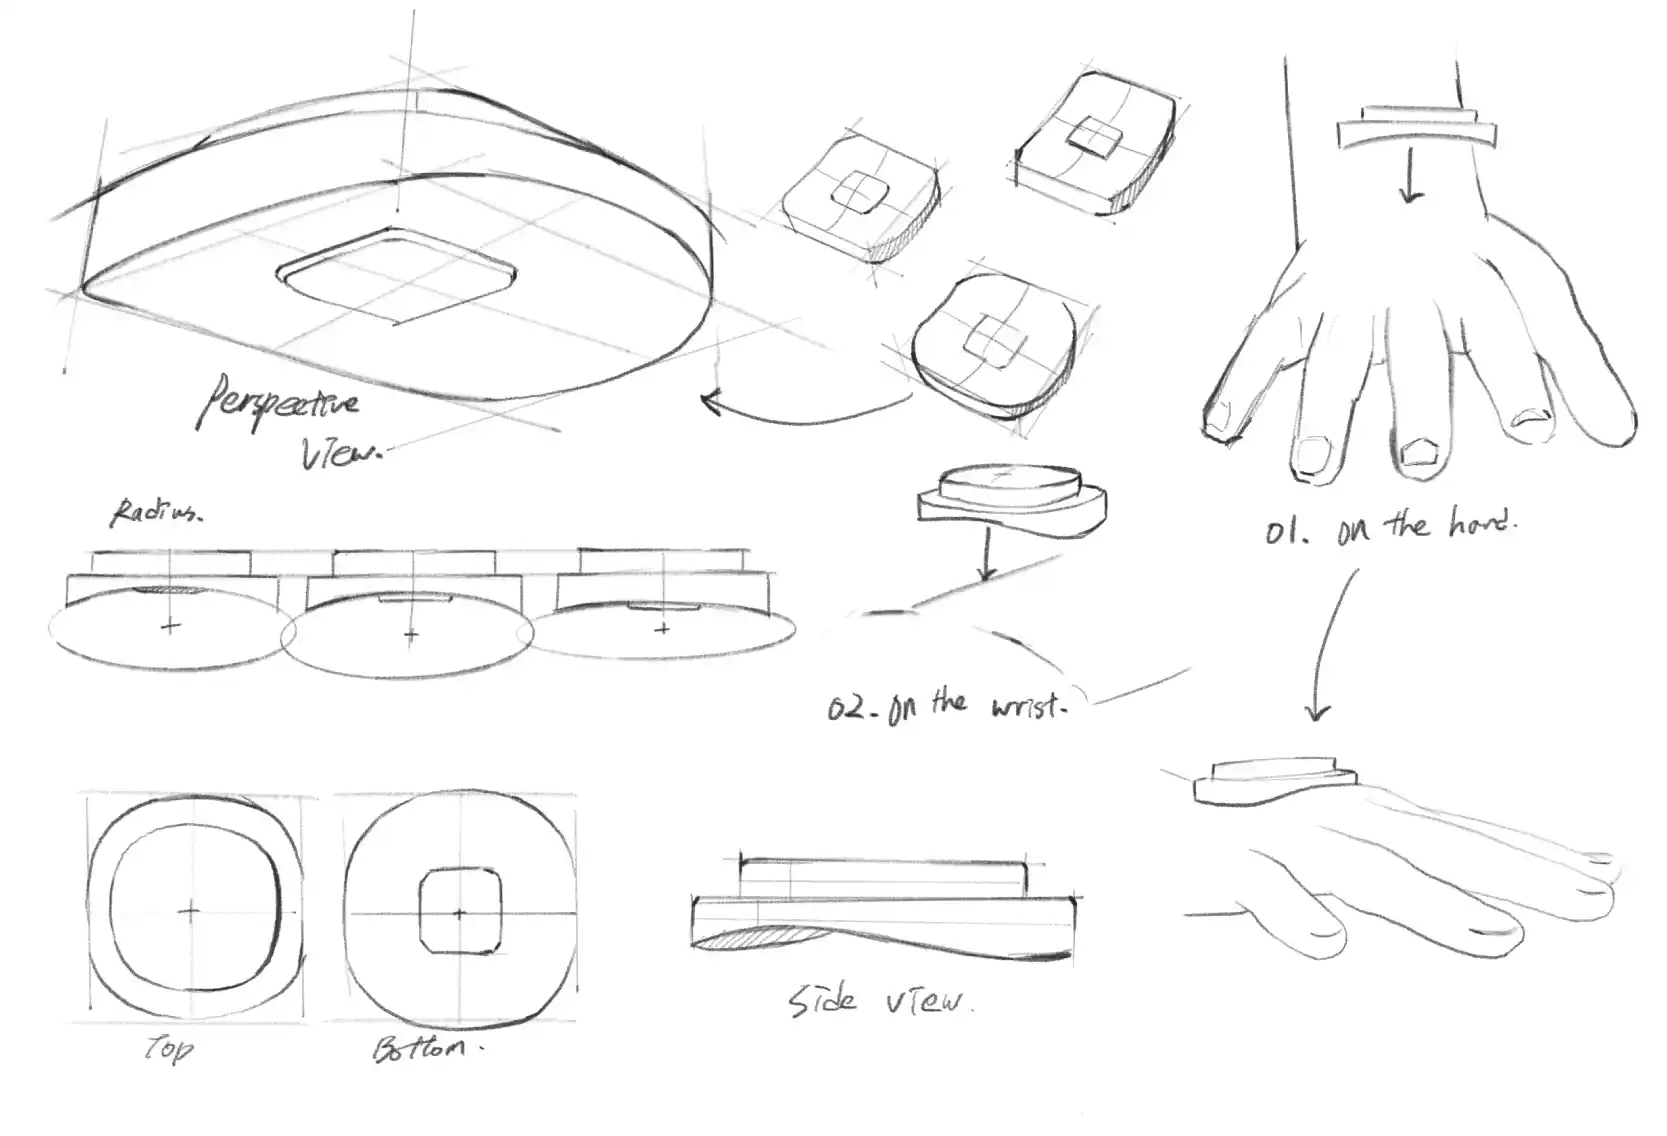
Put on the holder

First Version

The L-shaped structure allows the holder to be placed on the device.
Sketch Image 1-2


Sketch Image 1-3


Sketch Image 1-4


Week6

Set the concept and design direction of the device and holder.
Sketch Image 2-1

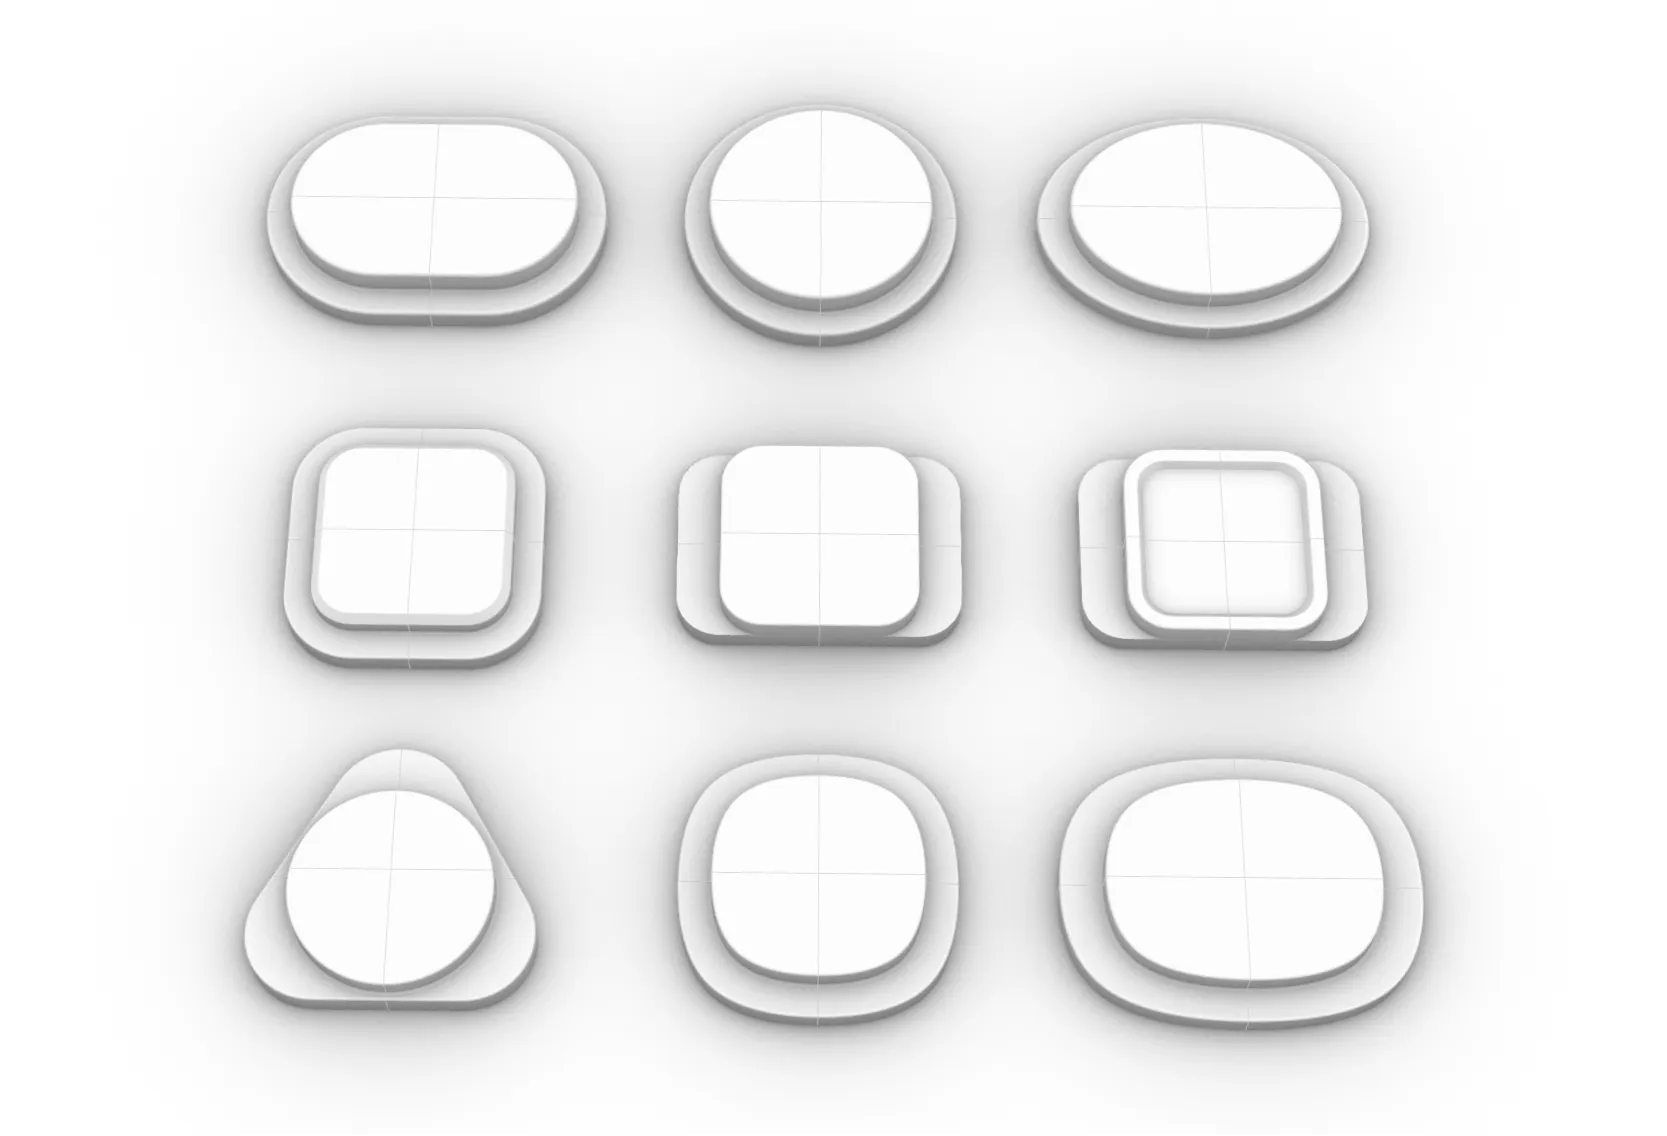
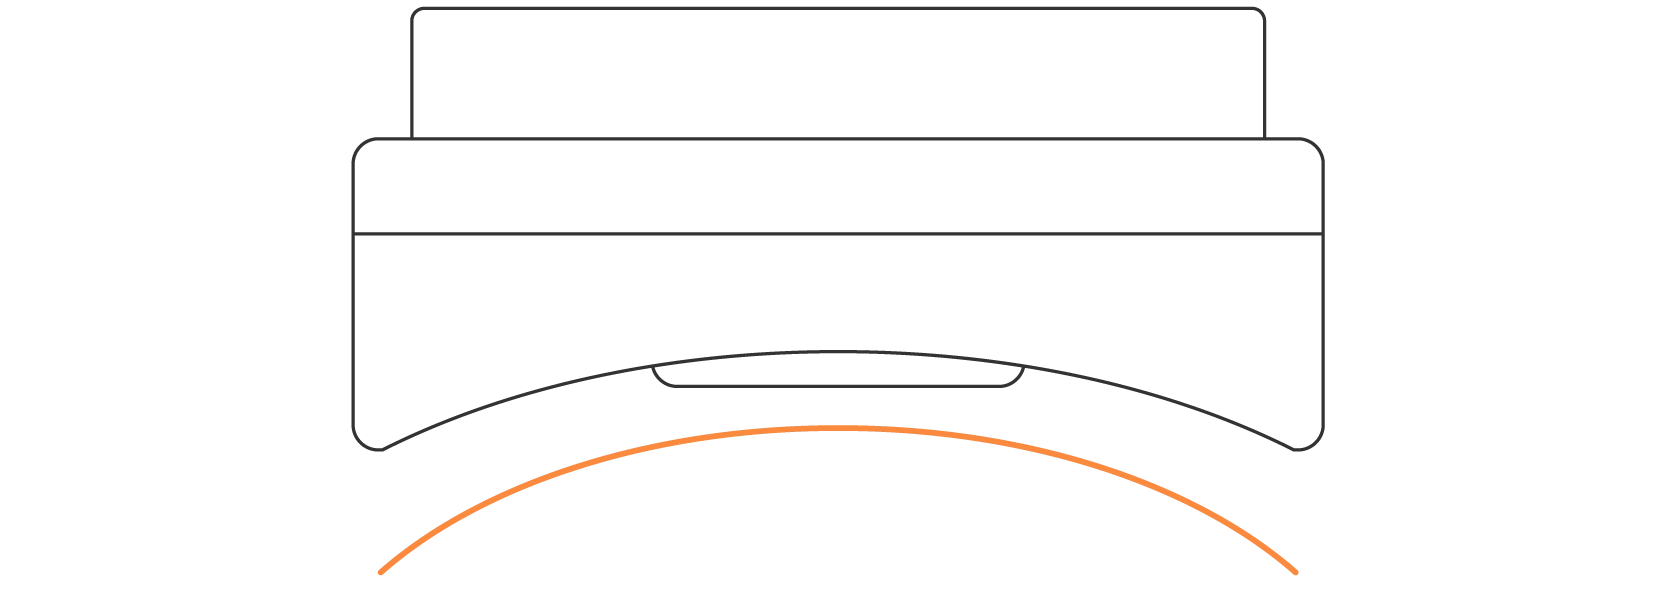
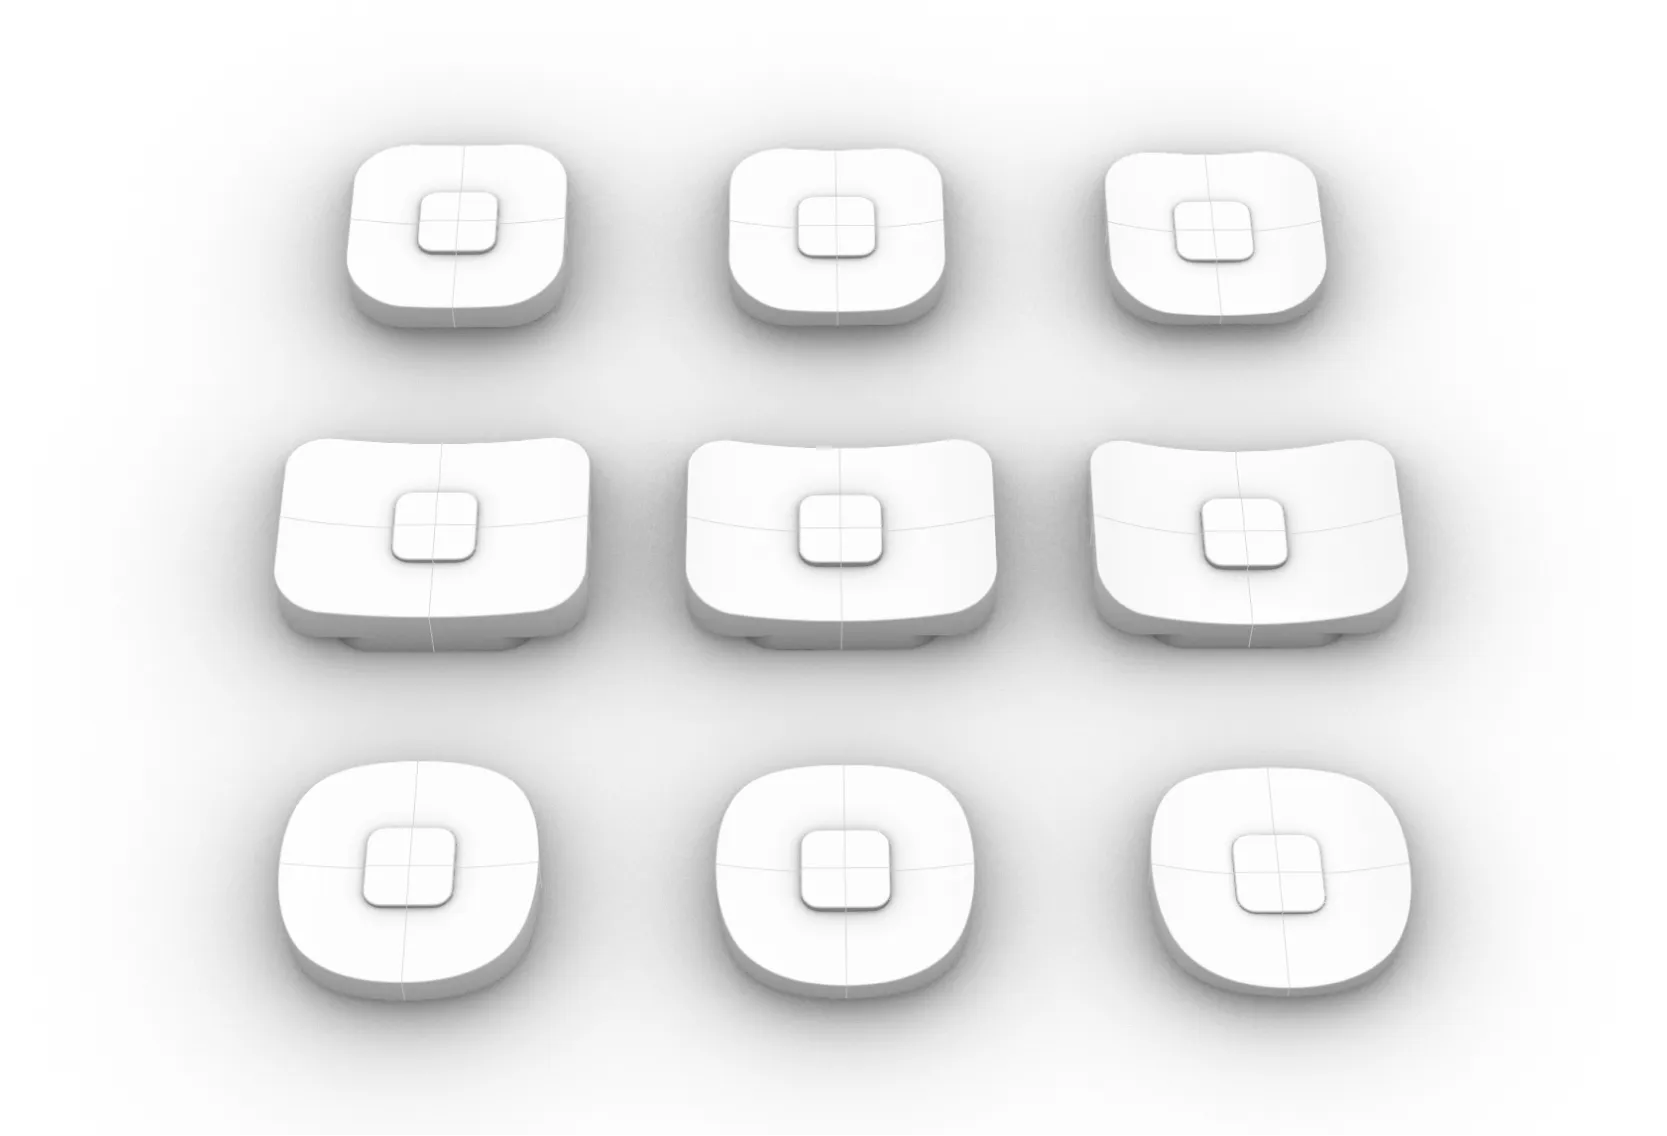
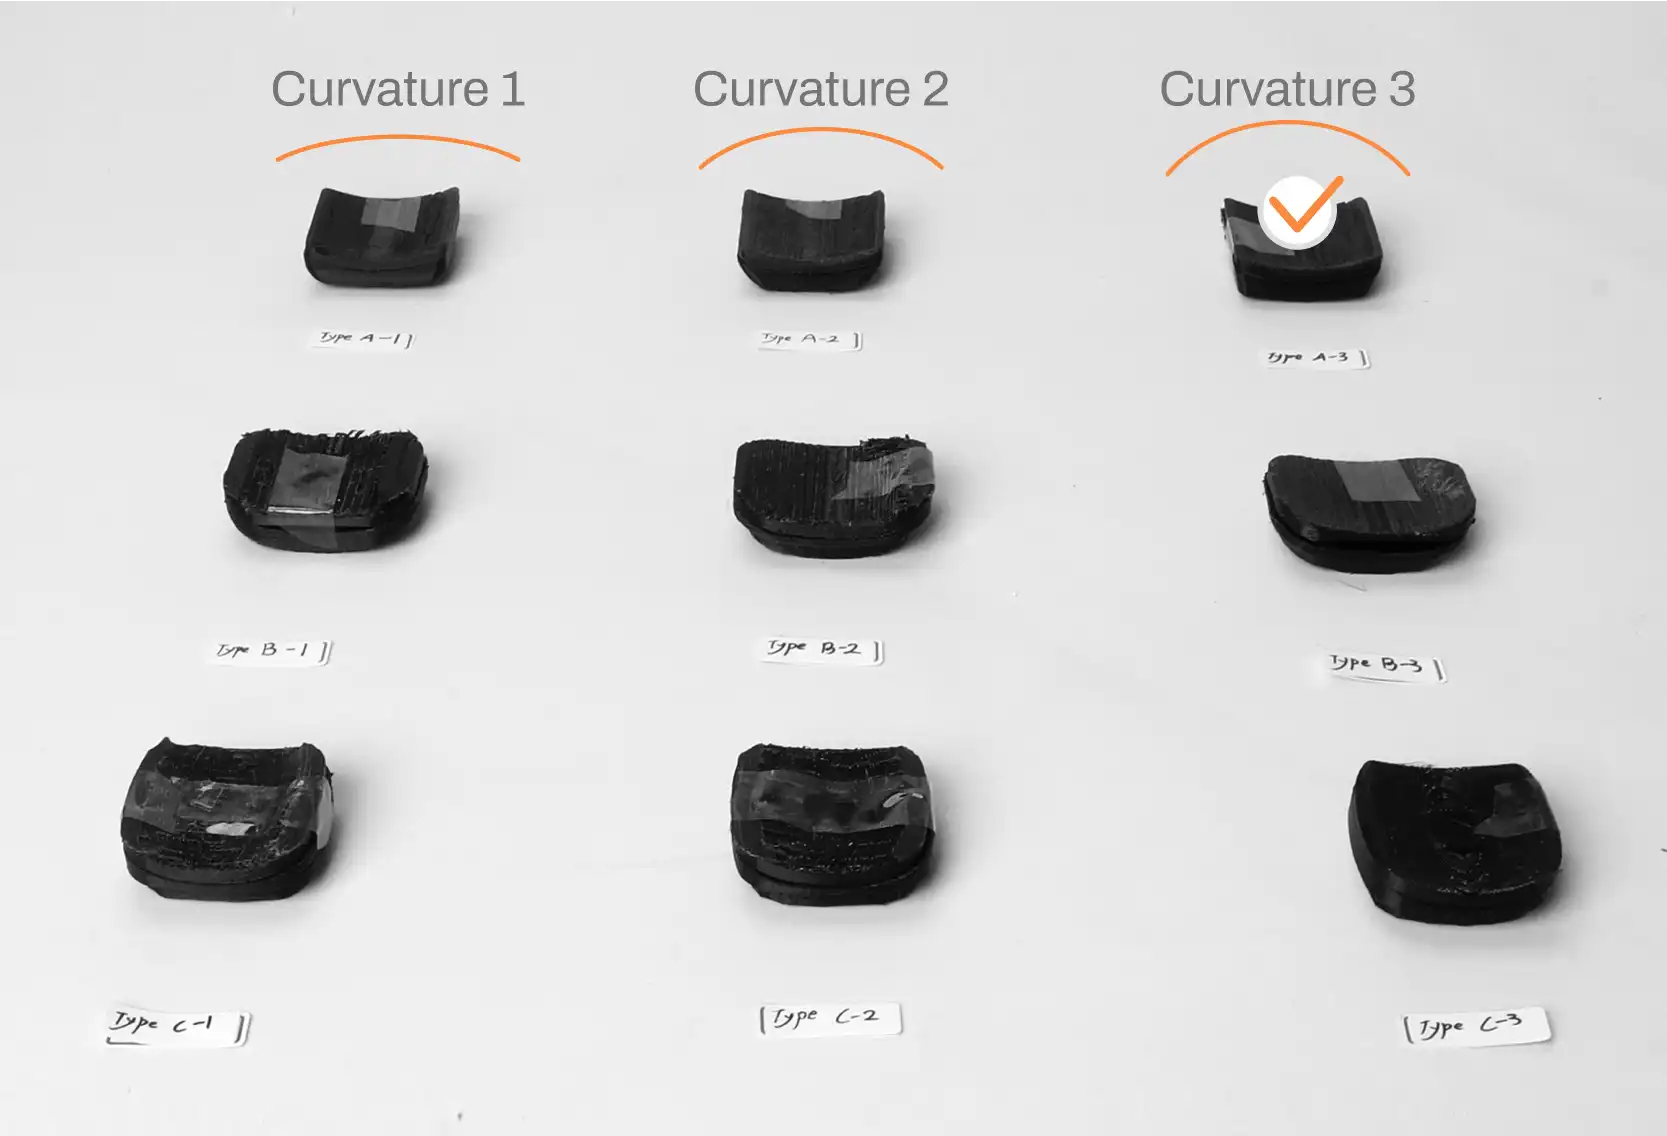
Curvature bottom

Second Version

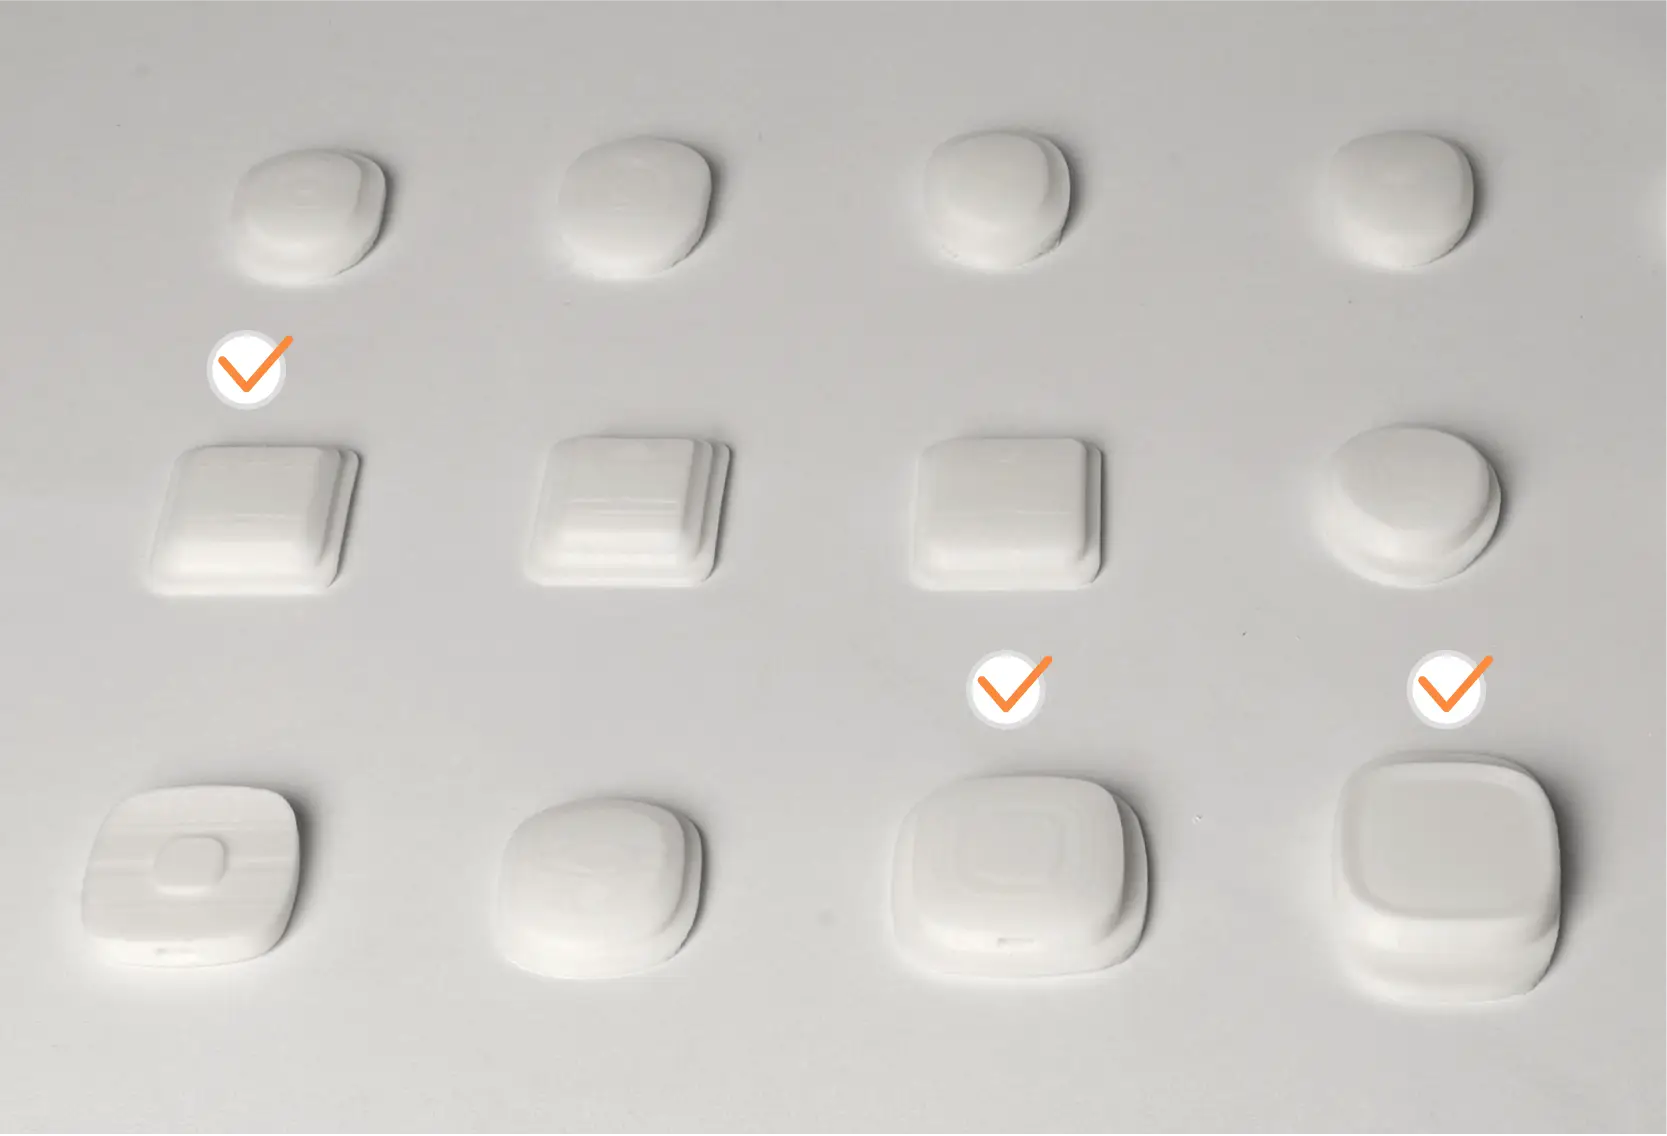
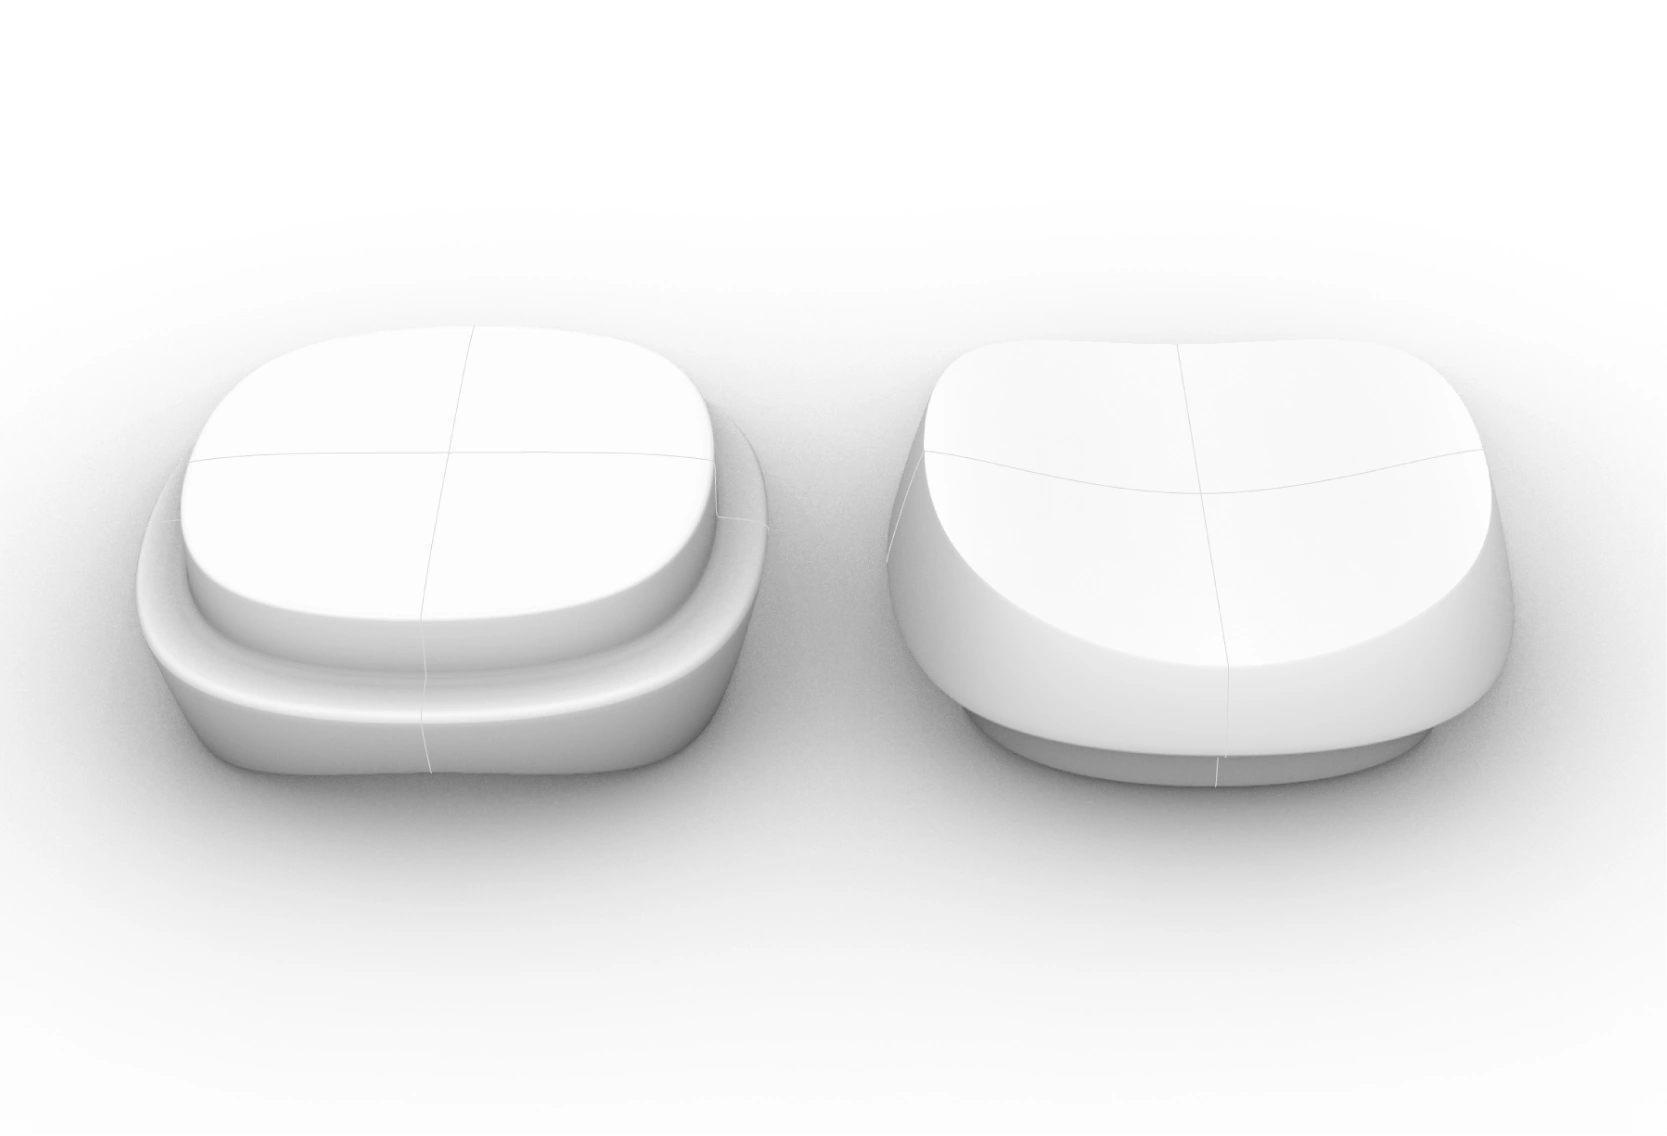
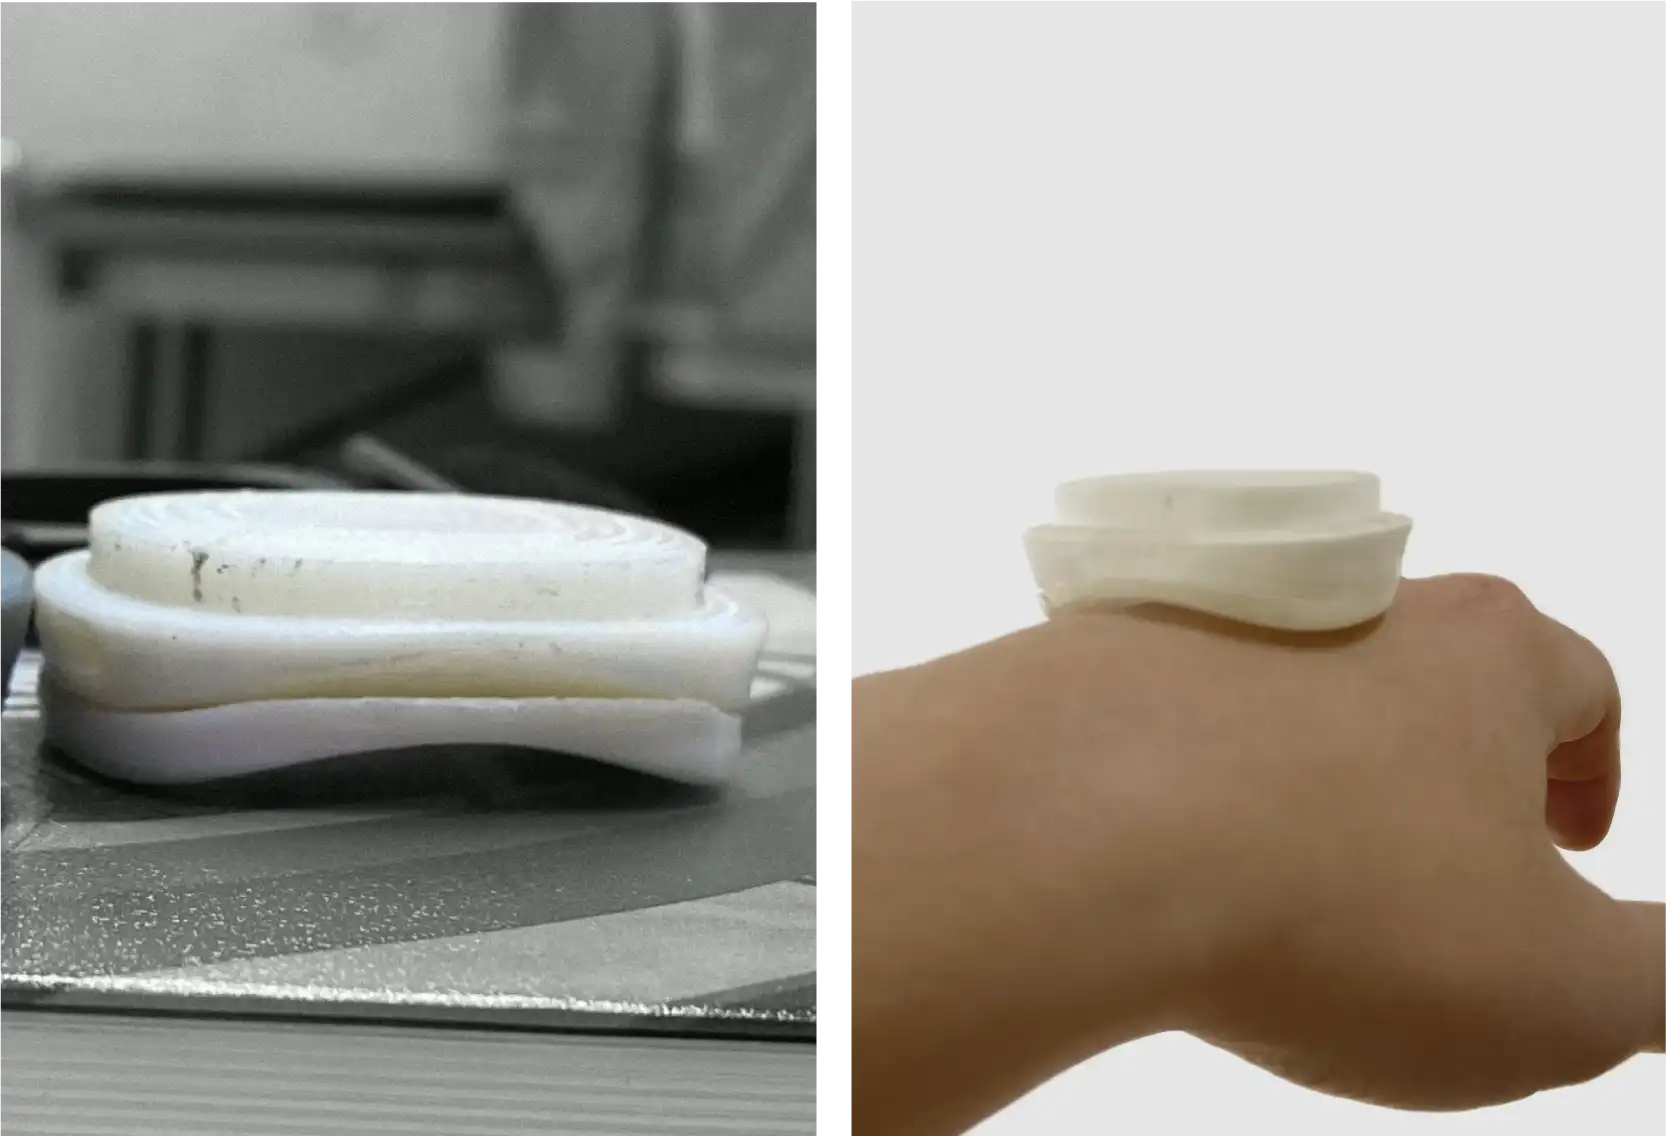
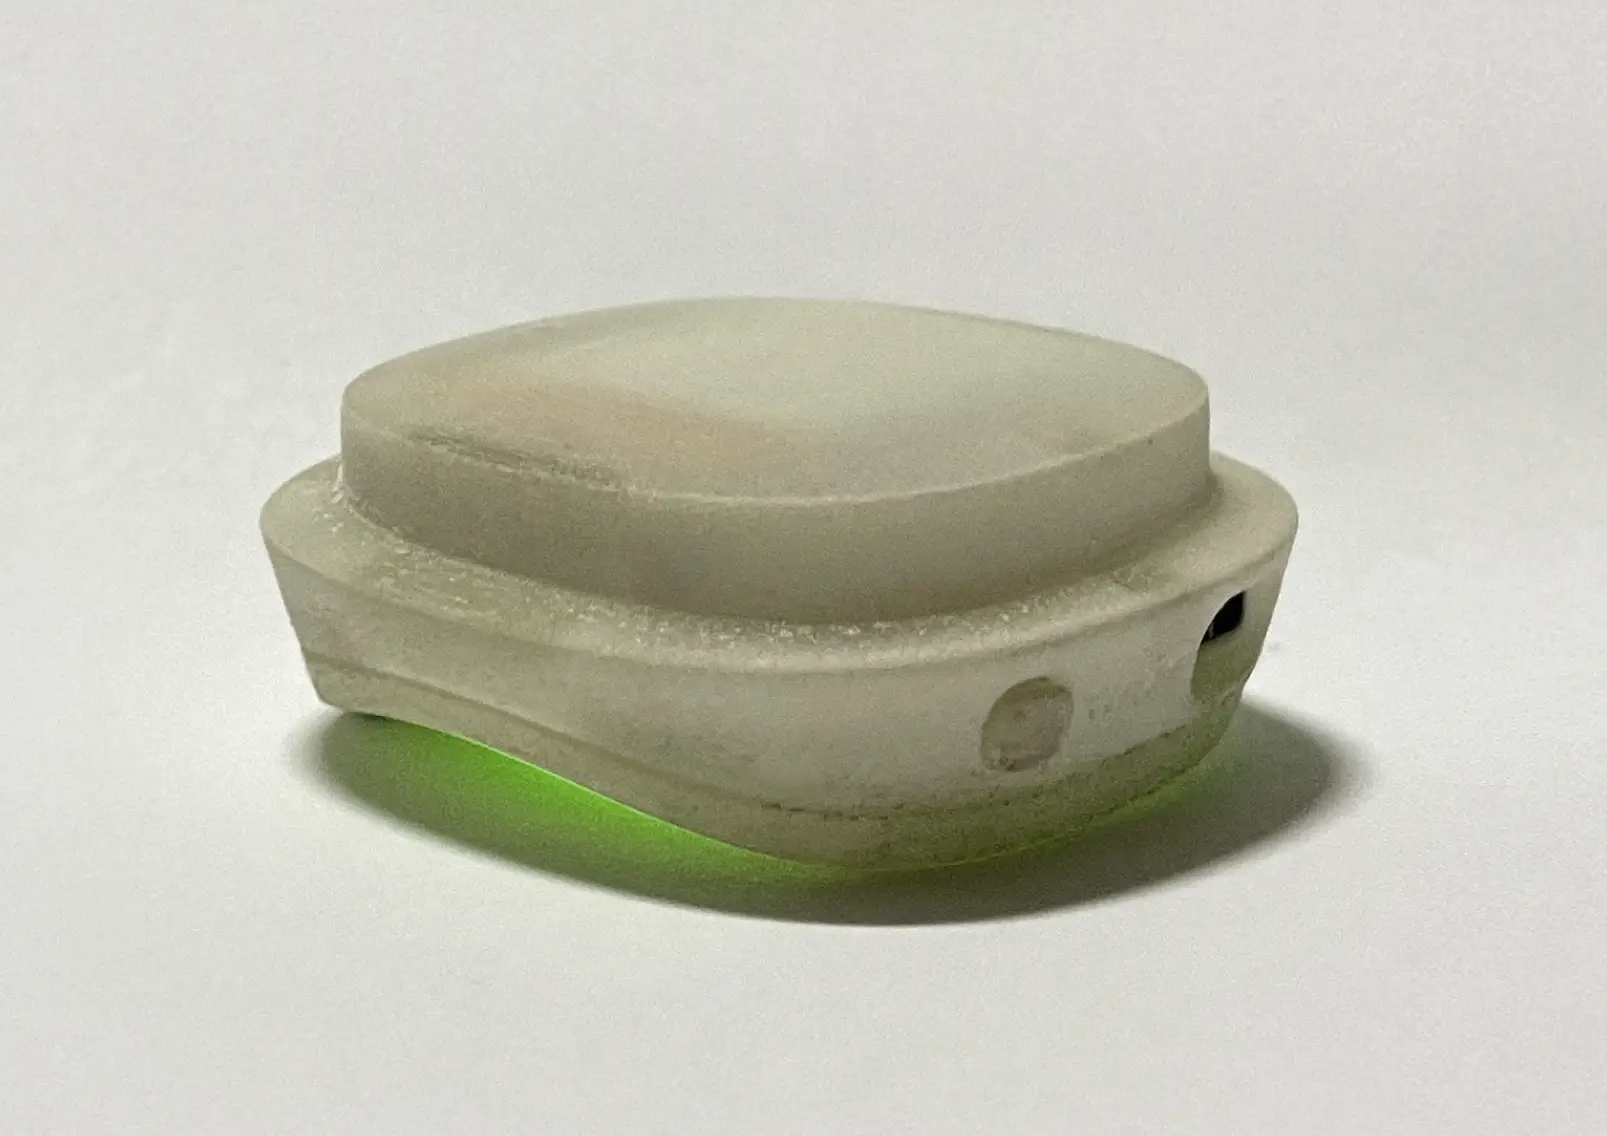
The flat bottom lacked adhesion, so a curved bottom was added.

Sketch Image 2-2

Sketch

Sketch Image 2-3

3D Modeling

Sketch Image 2-4

3D Printing

Week7

Set the concept and design direction of the device and holder.

Sketch Image 3-1

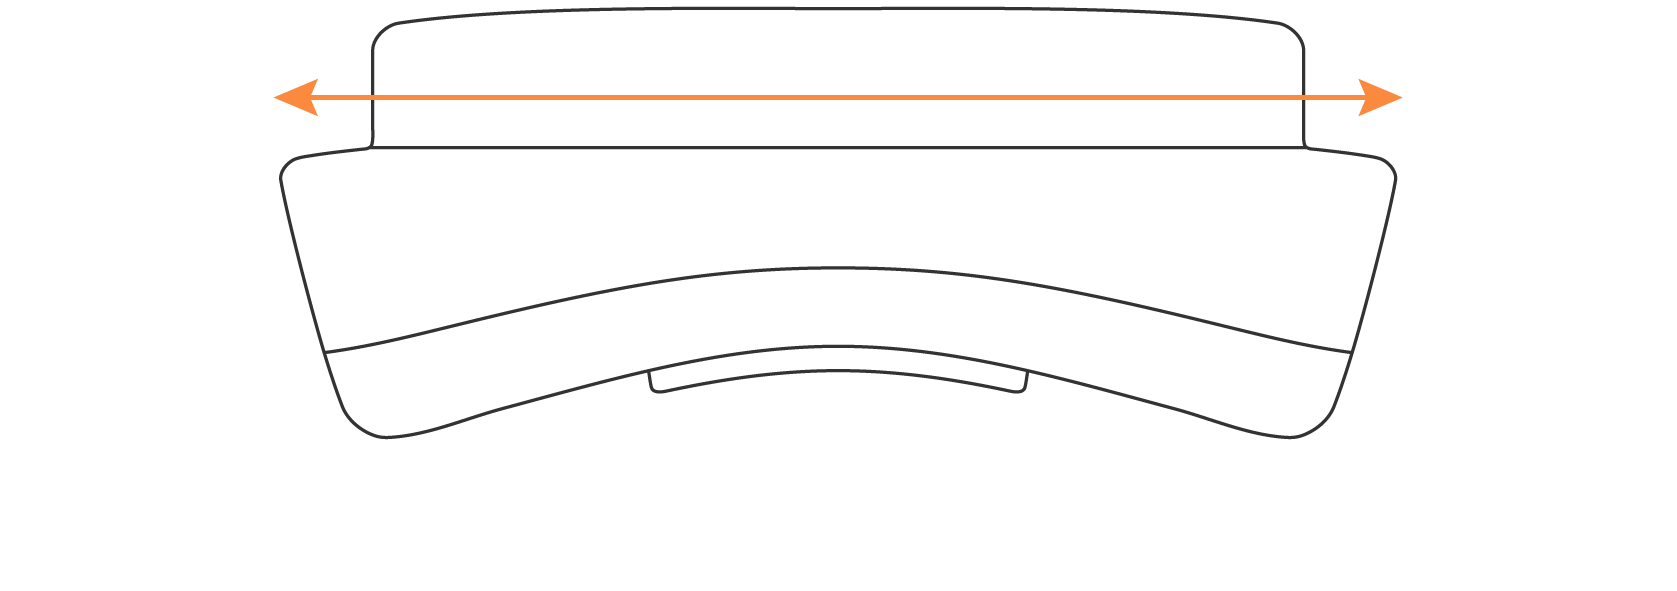
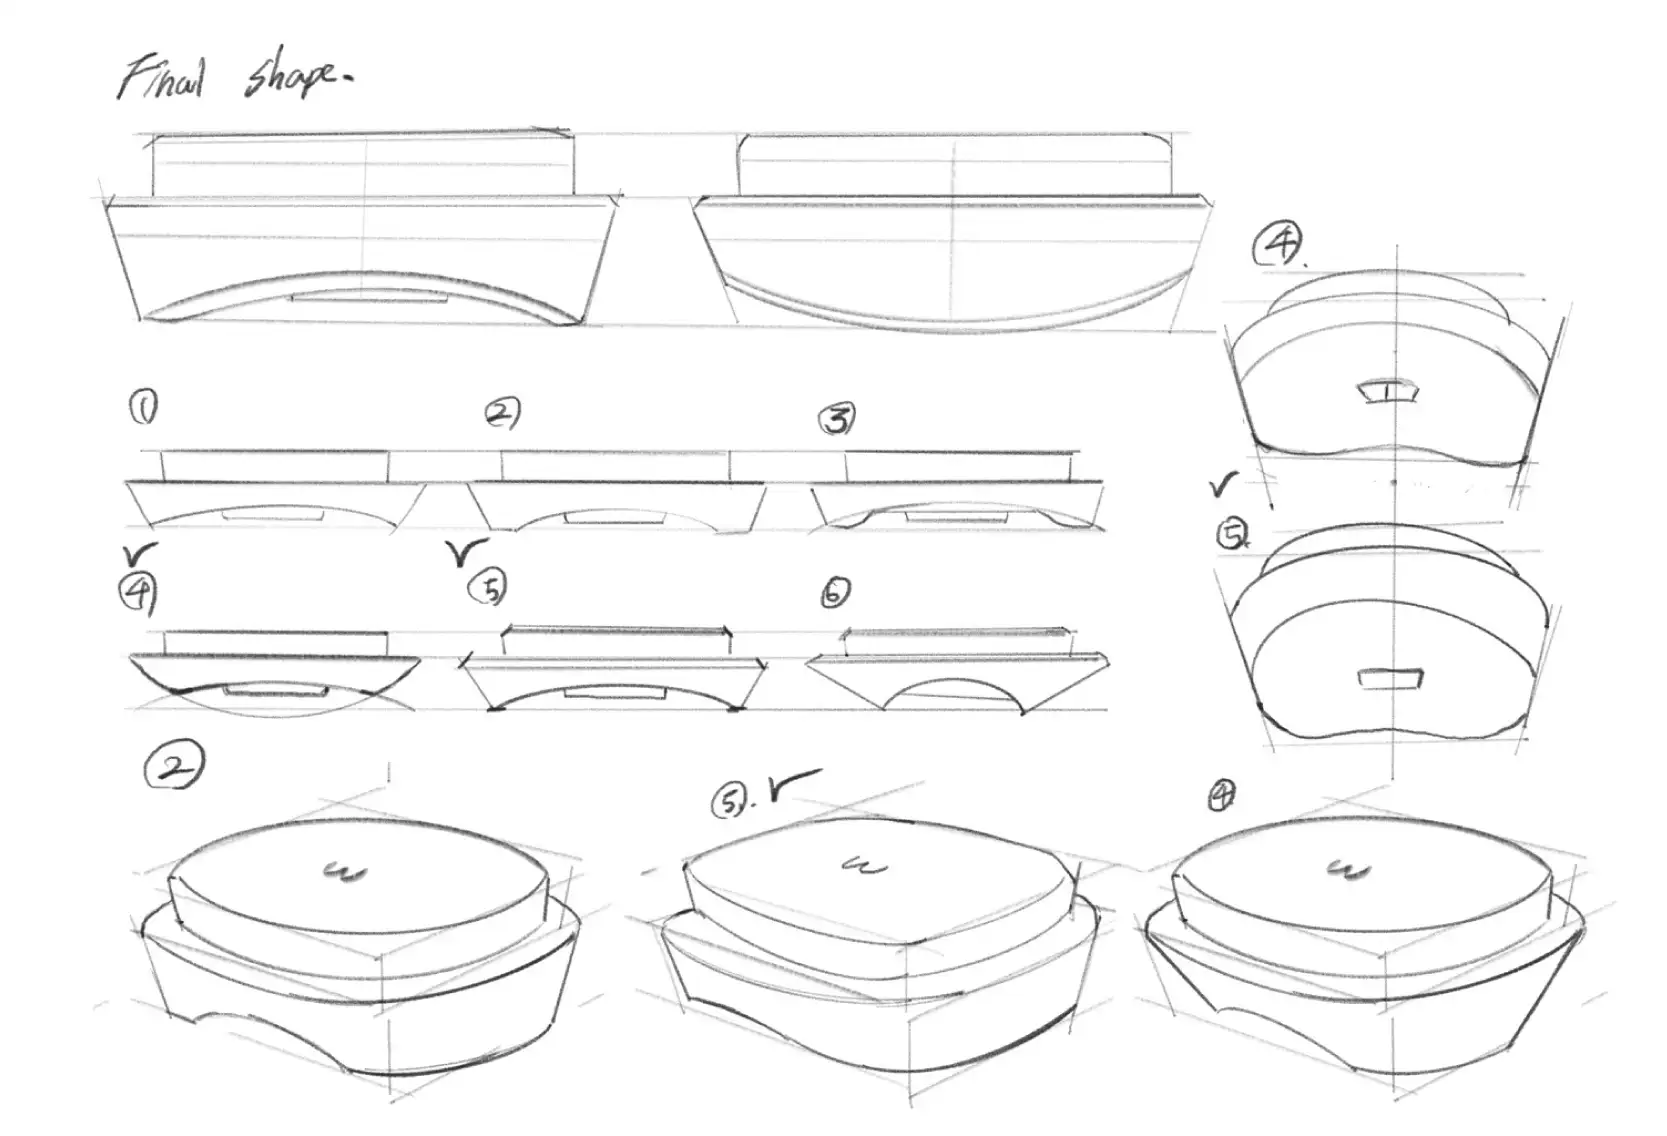
Widen the top

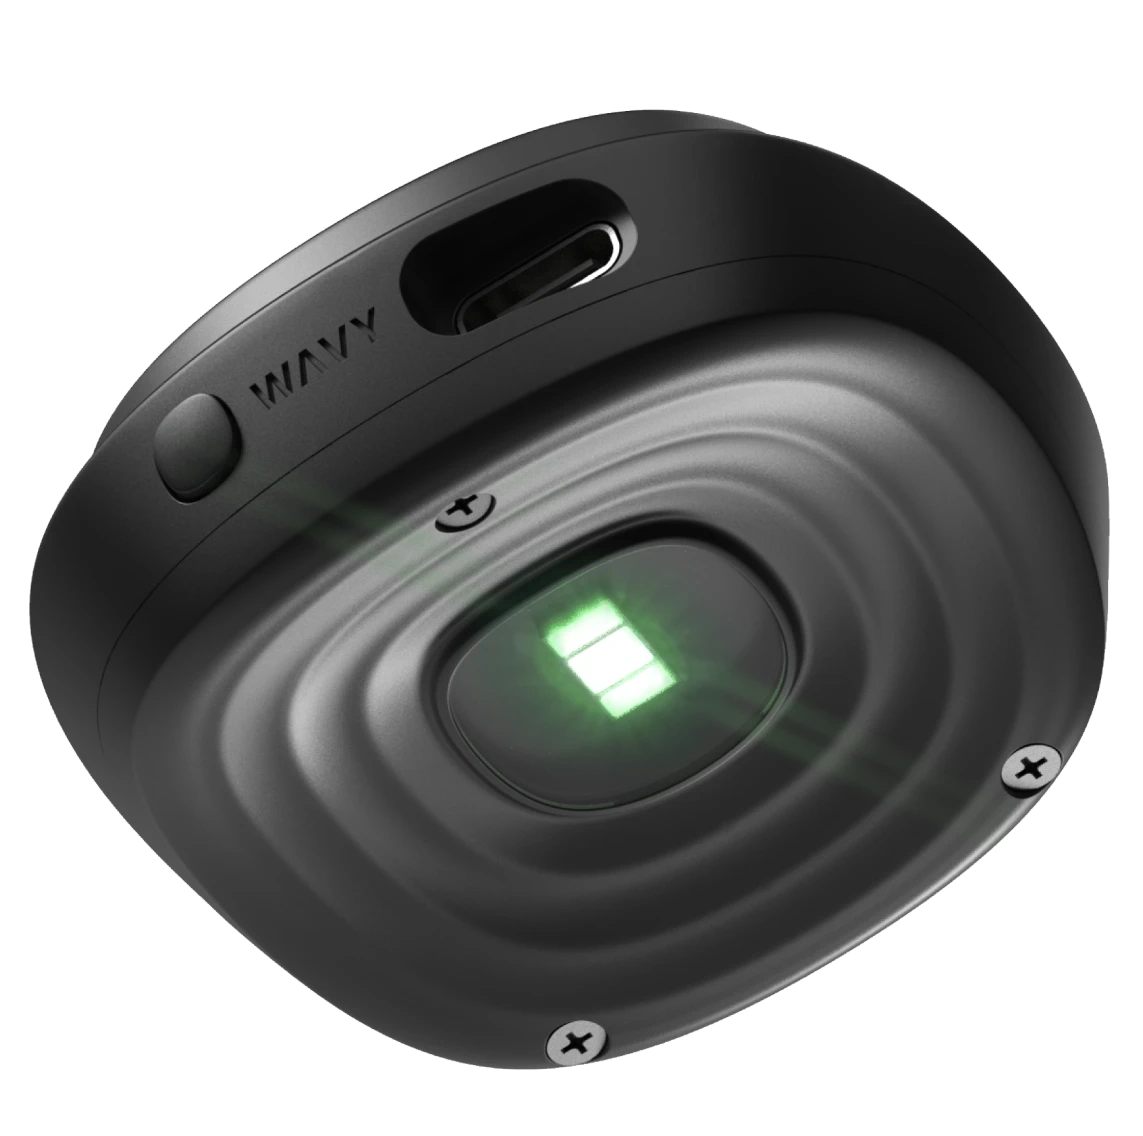
Final Version

Widen the top part so that the holder can be placed better.

Sketch Image 3-2


Sketch Image 3-3


Sketch Image 3-4


Week8

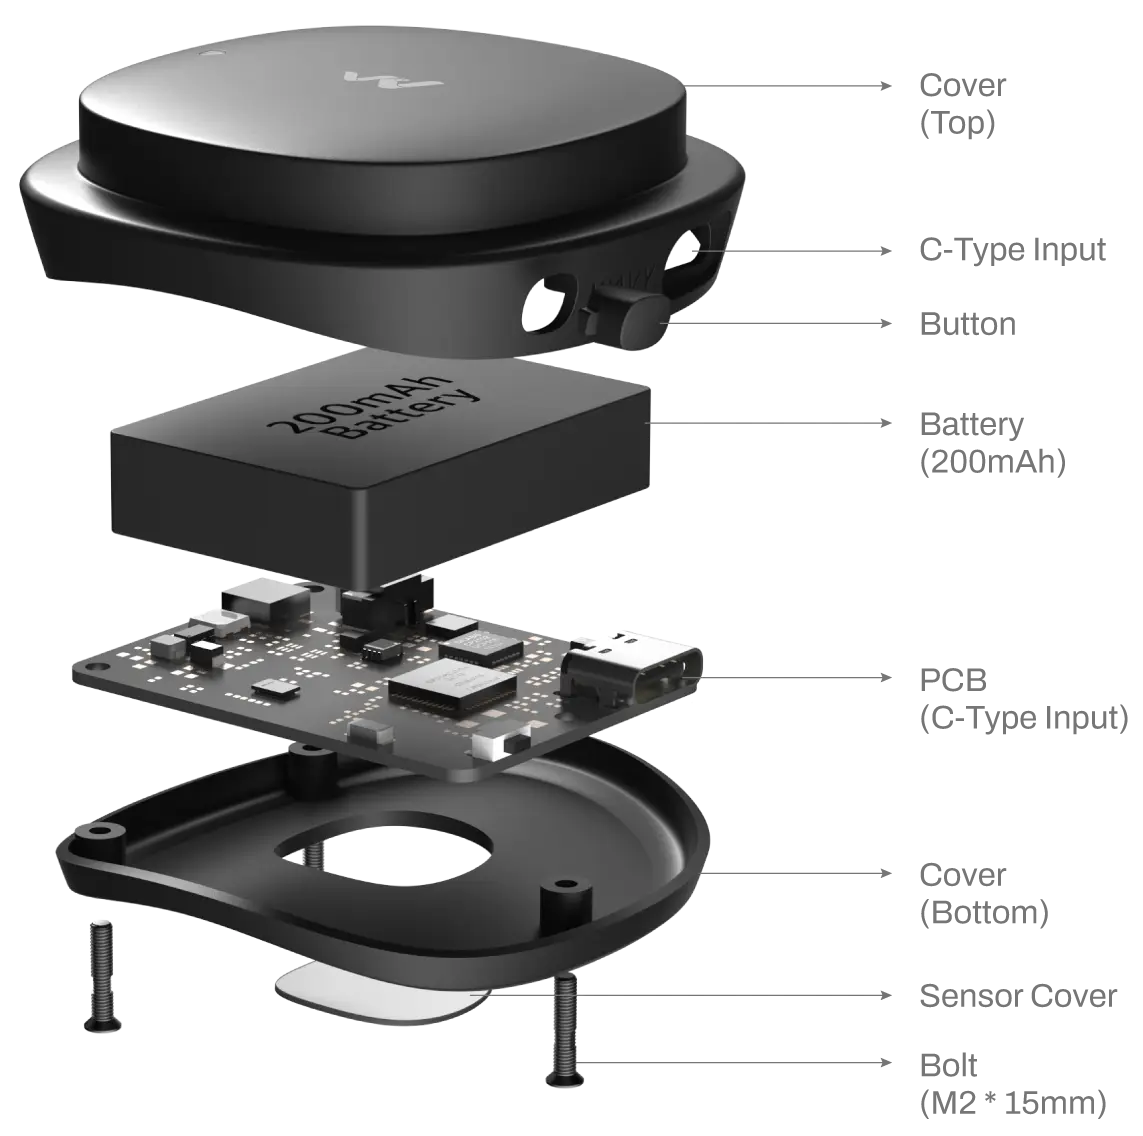
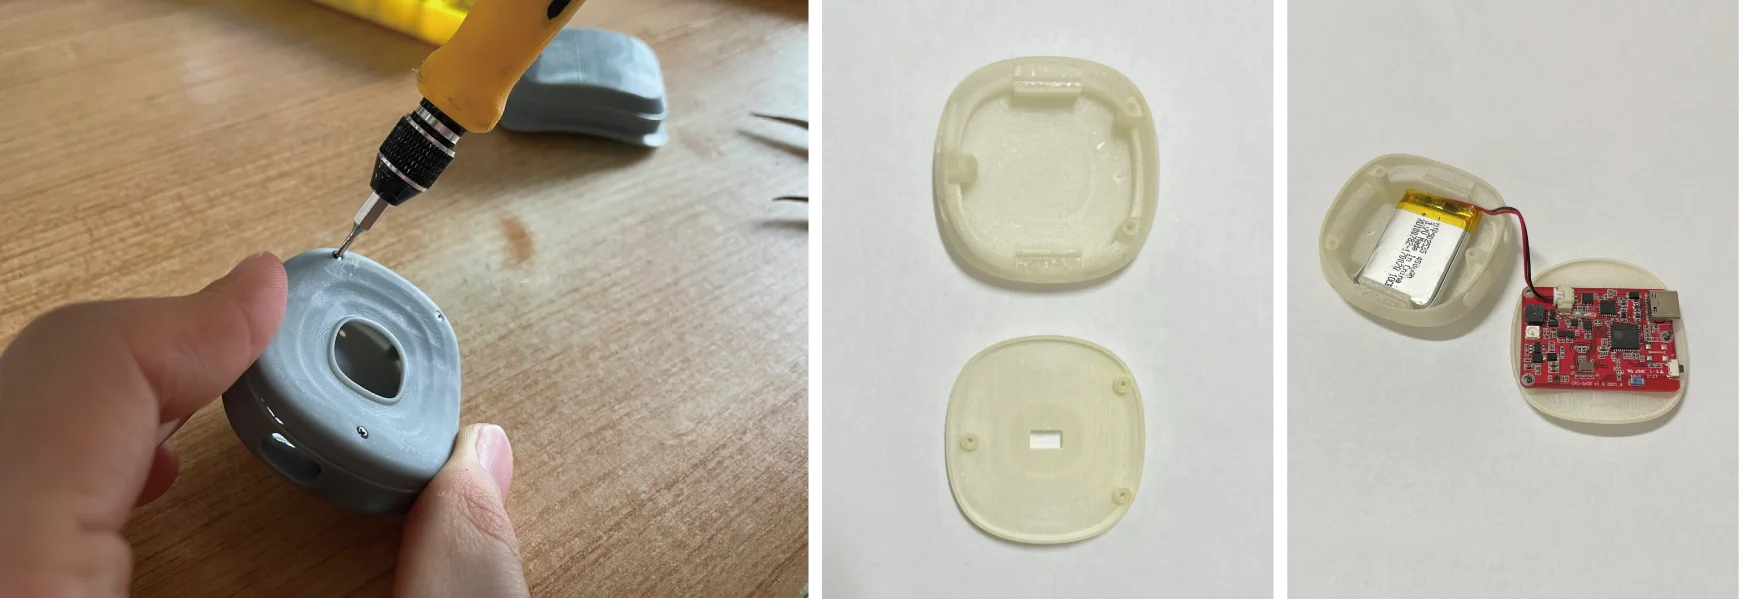
The internal structure and assembly were tested, ensuring proper integration of the components.

Prototype Image 1
Prototype Image 2

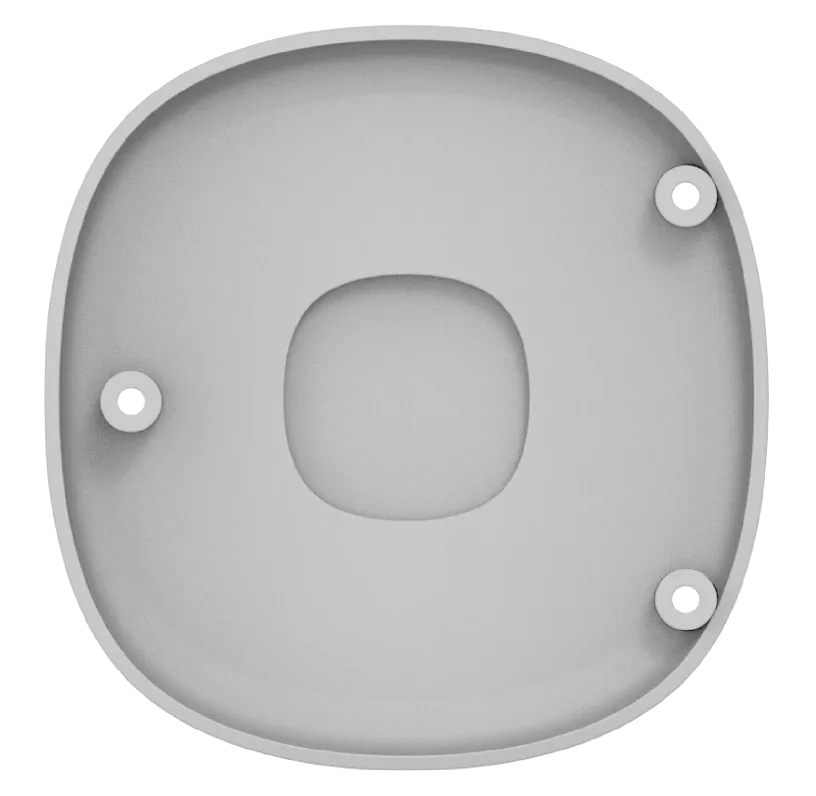
Top Part

Prototype Image 3

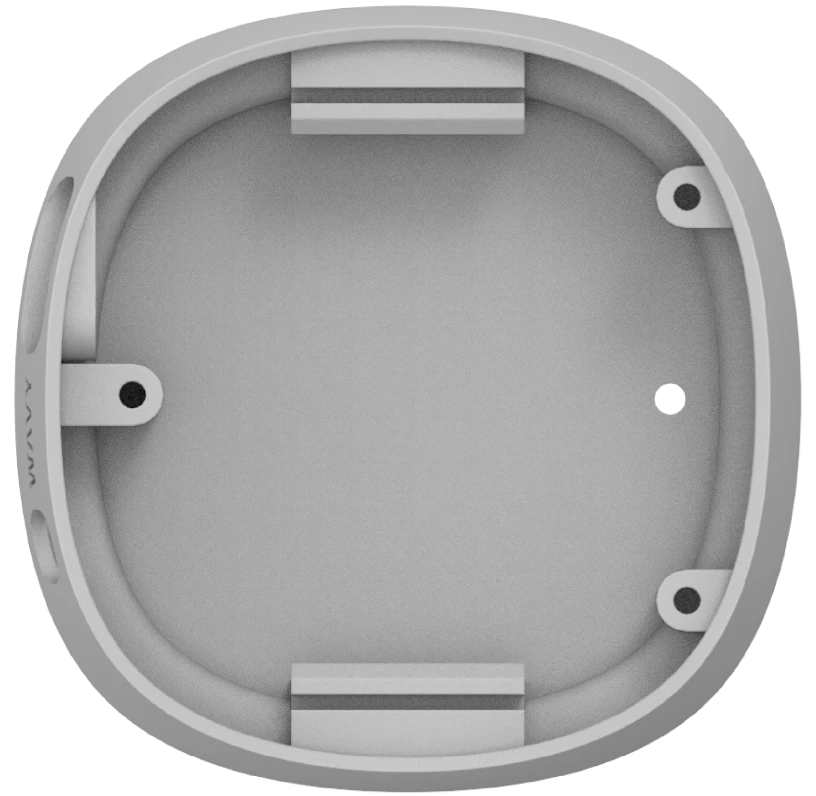
Bottom Part

Internal structure and assembly

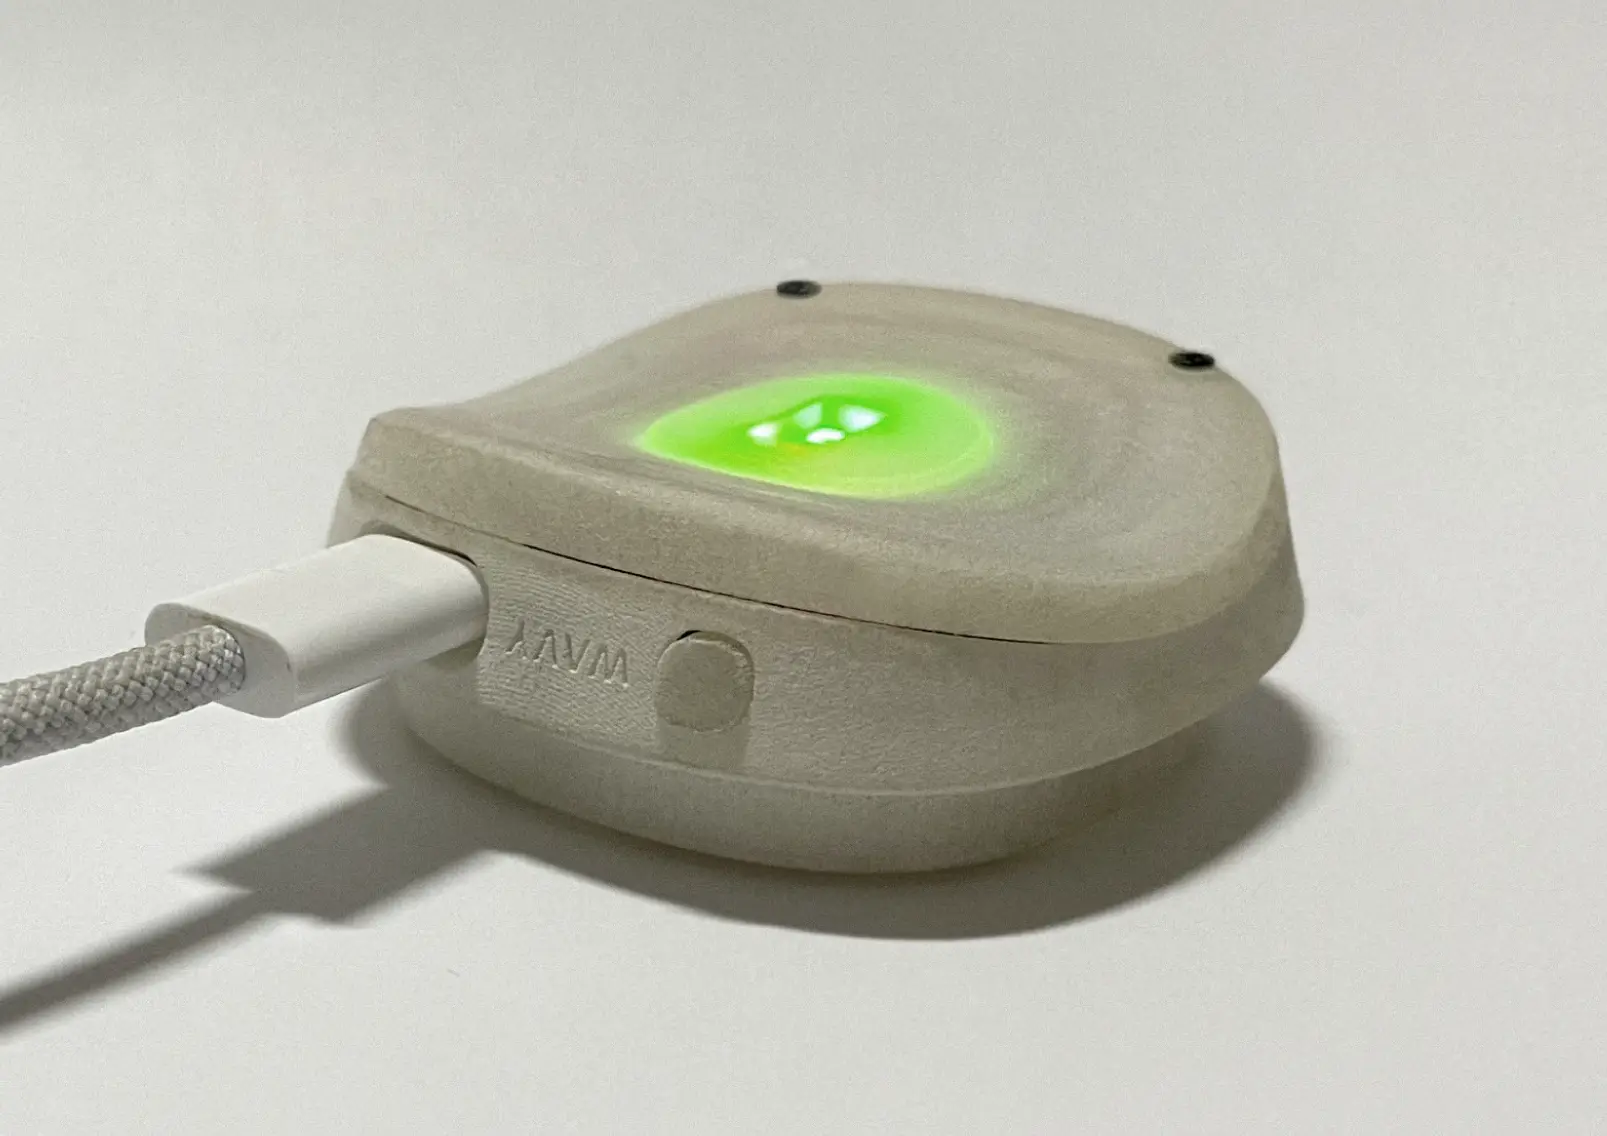
Design the assembly structure of the top and bottom parts, as well as the internal structure for the PCB and battery.

Prototype Image 4

Week9-10

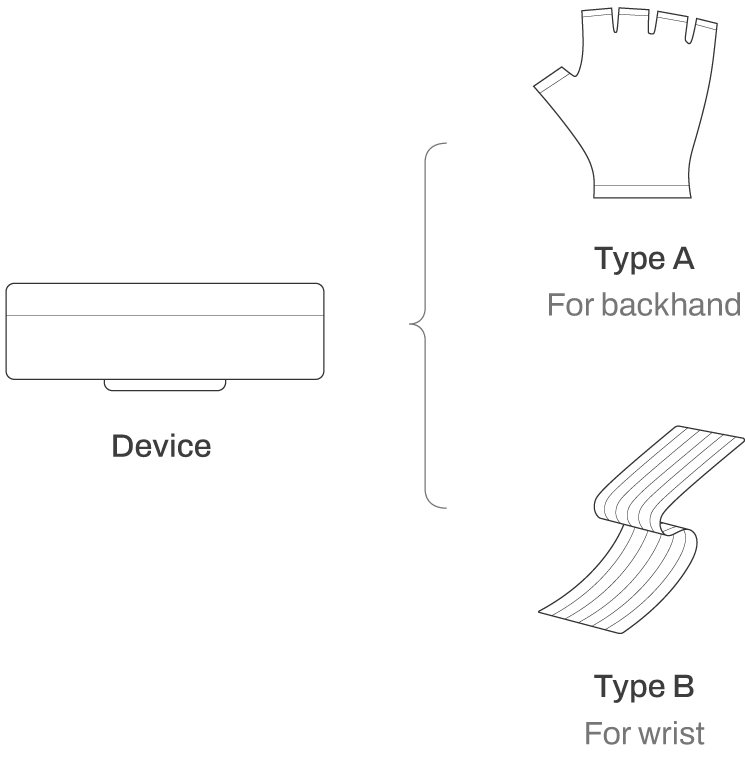
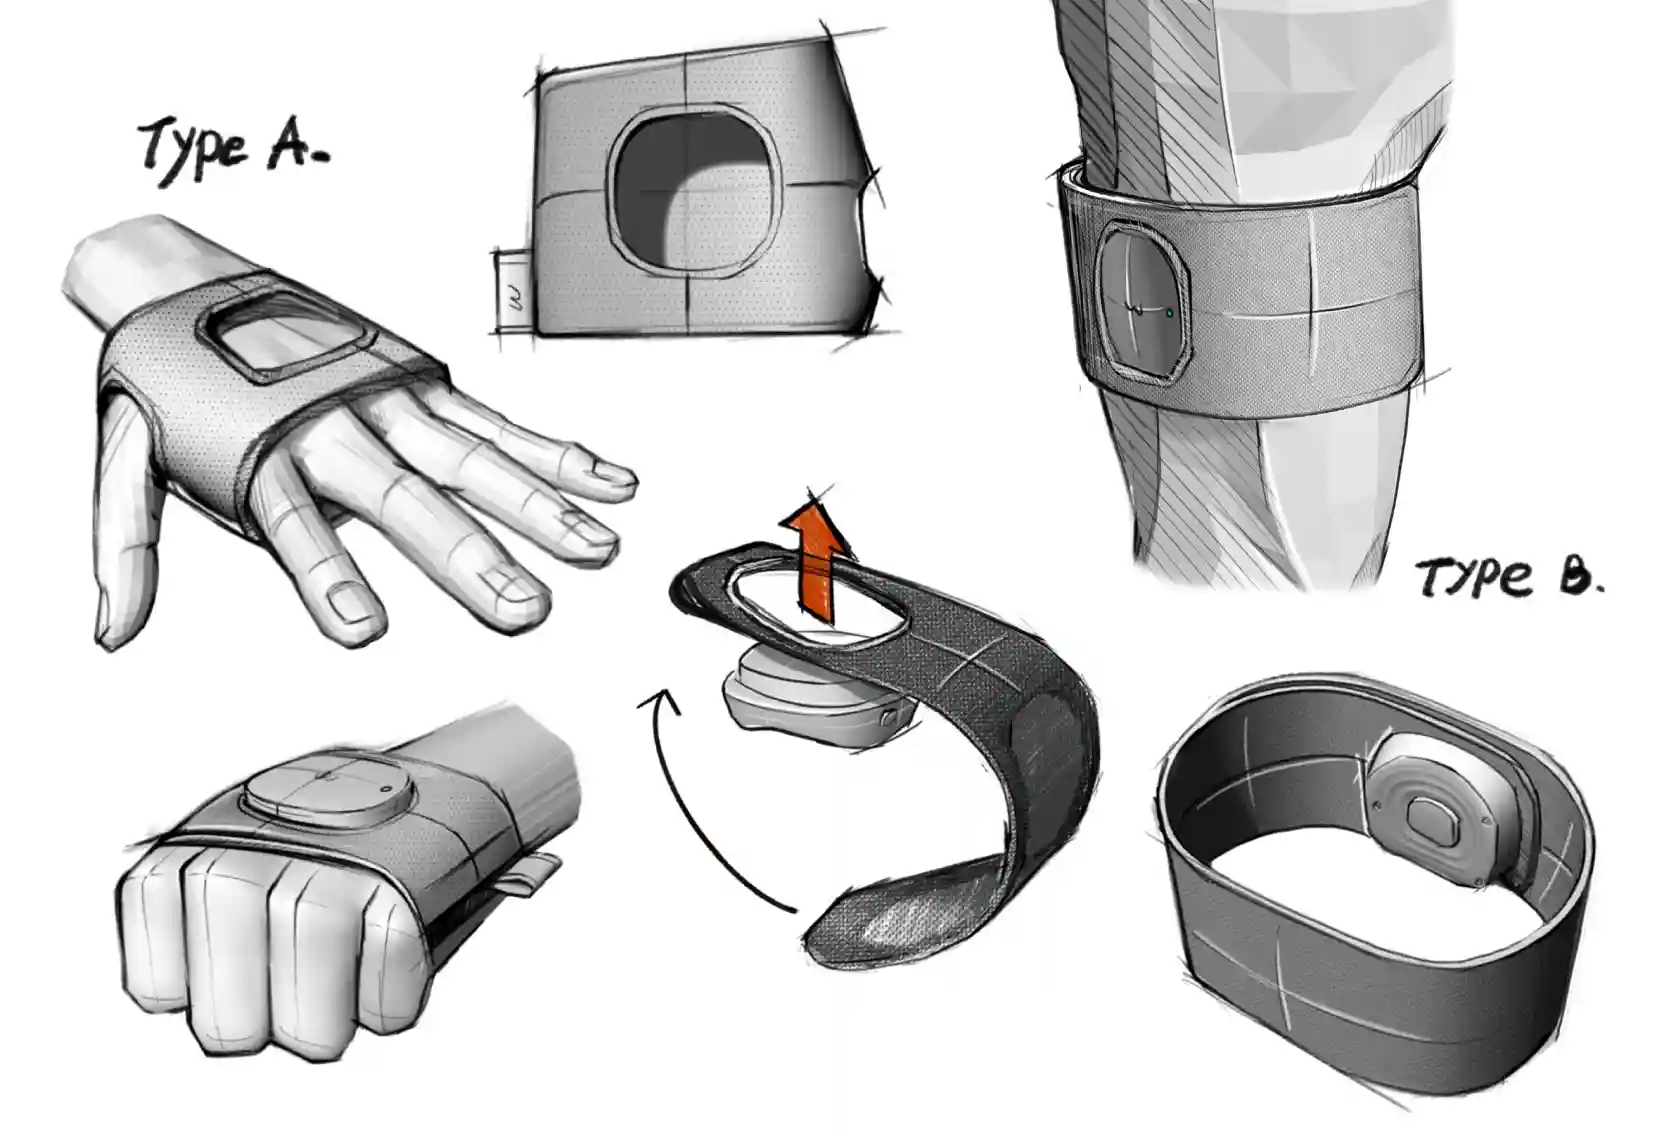
Design two types of holders to fasten the device to the backhand and wrist.

Shape Study 1

Sketch

Focus on how users can wear themselves easily and on fastening the device well.

Shape Study 2

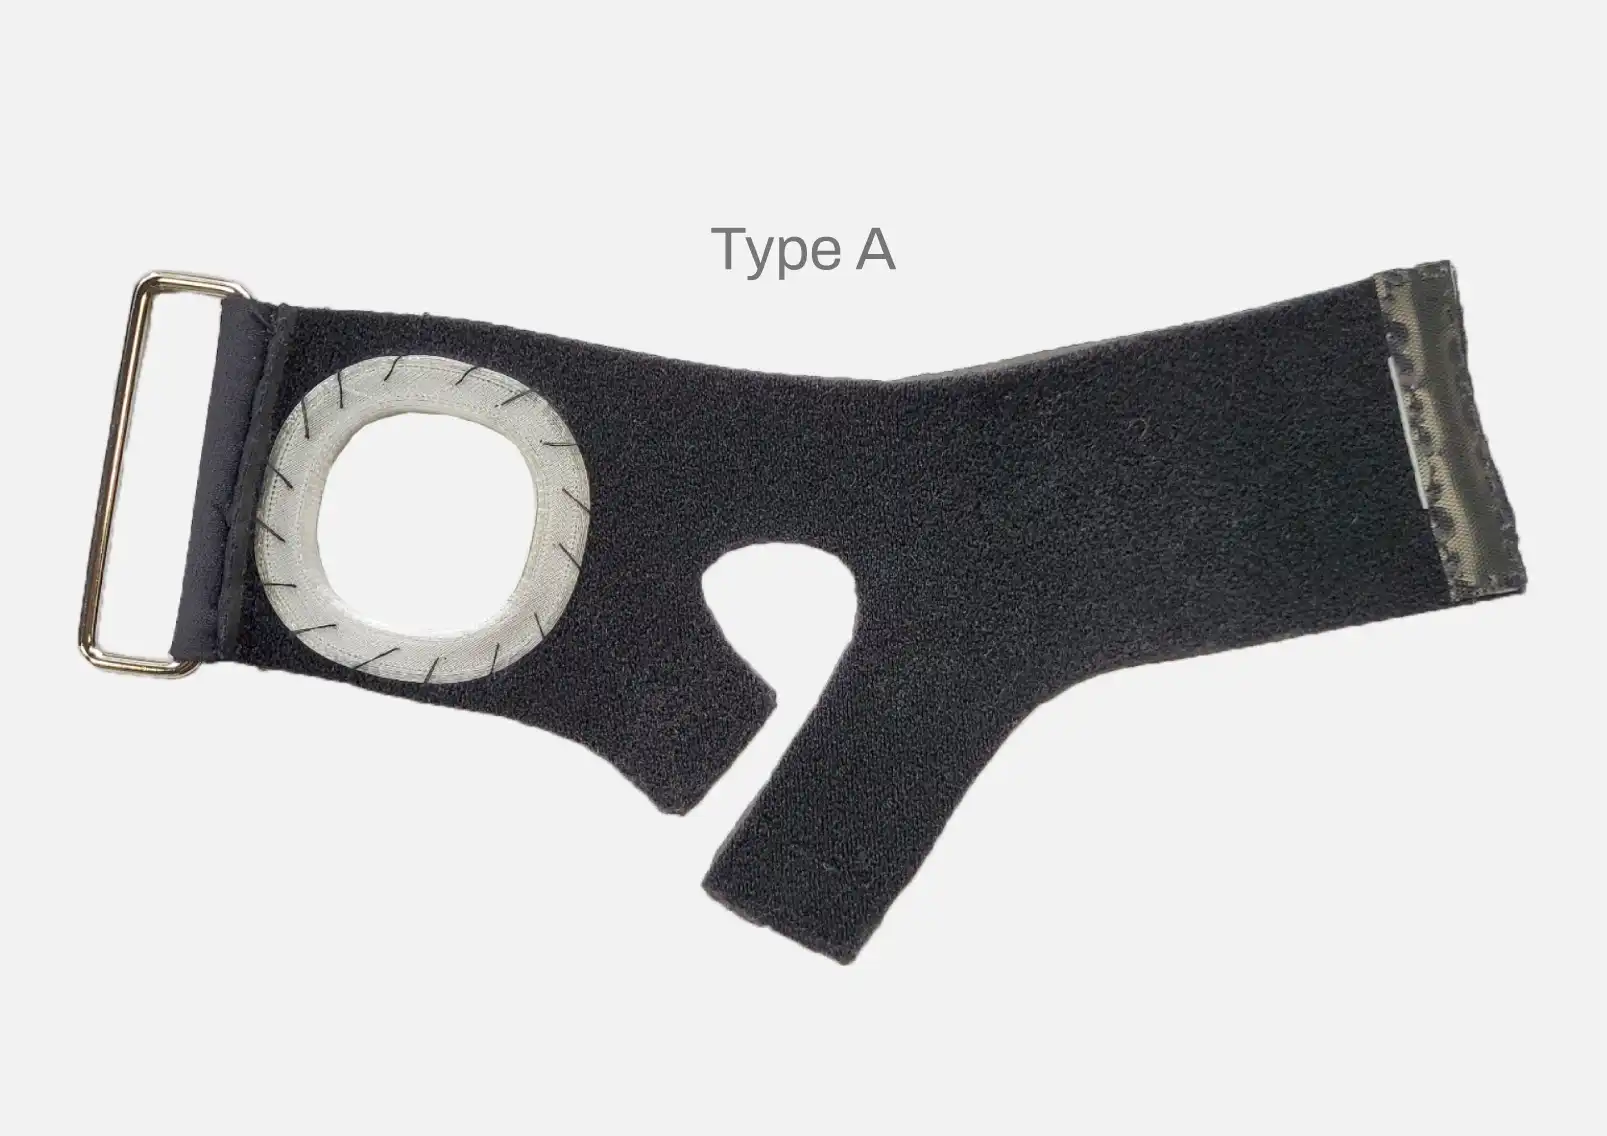
Type A

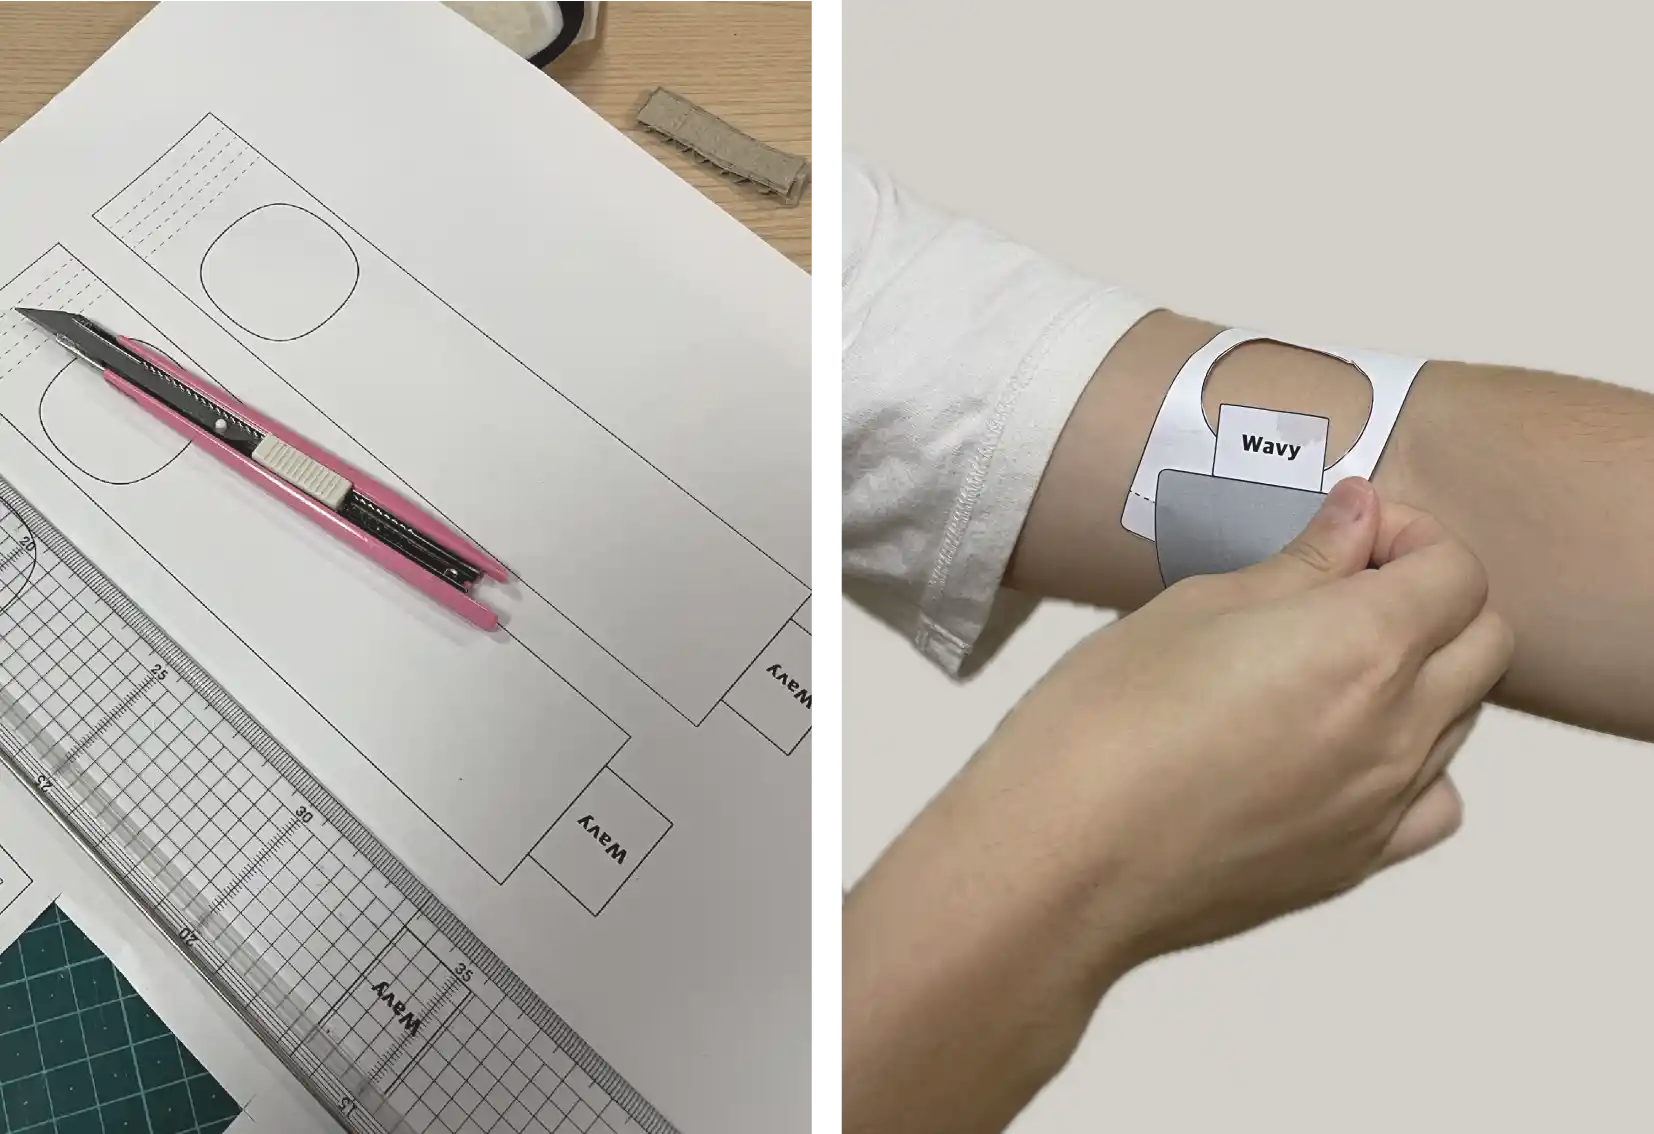
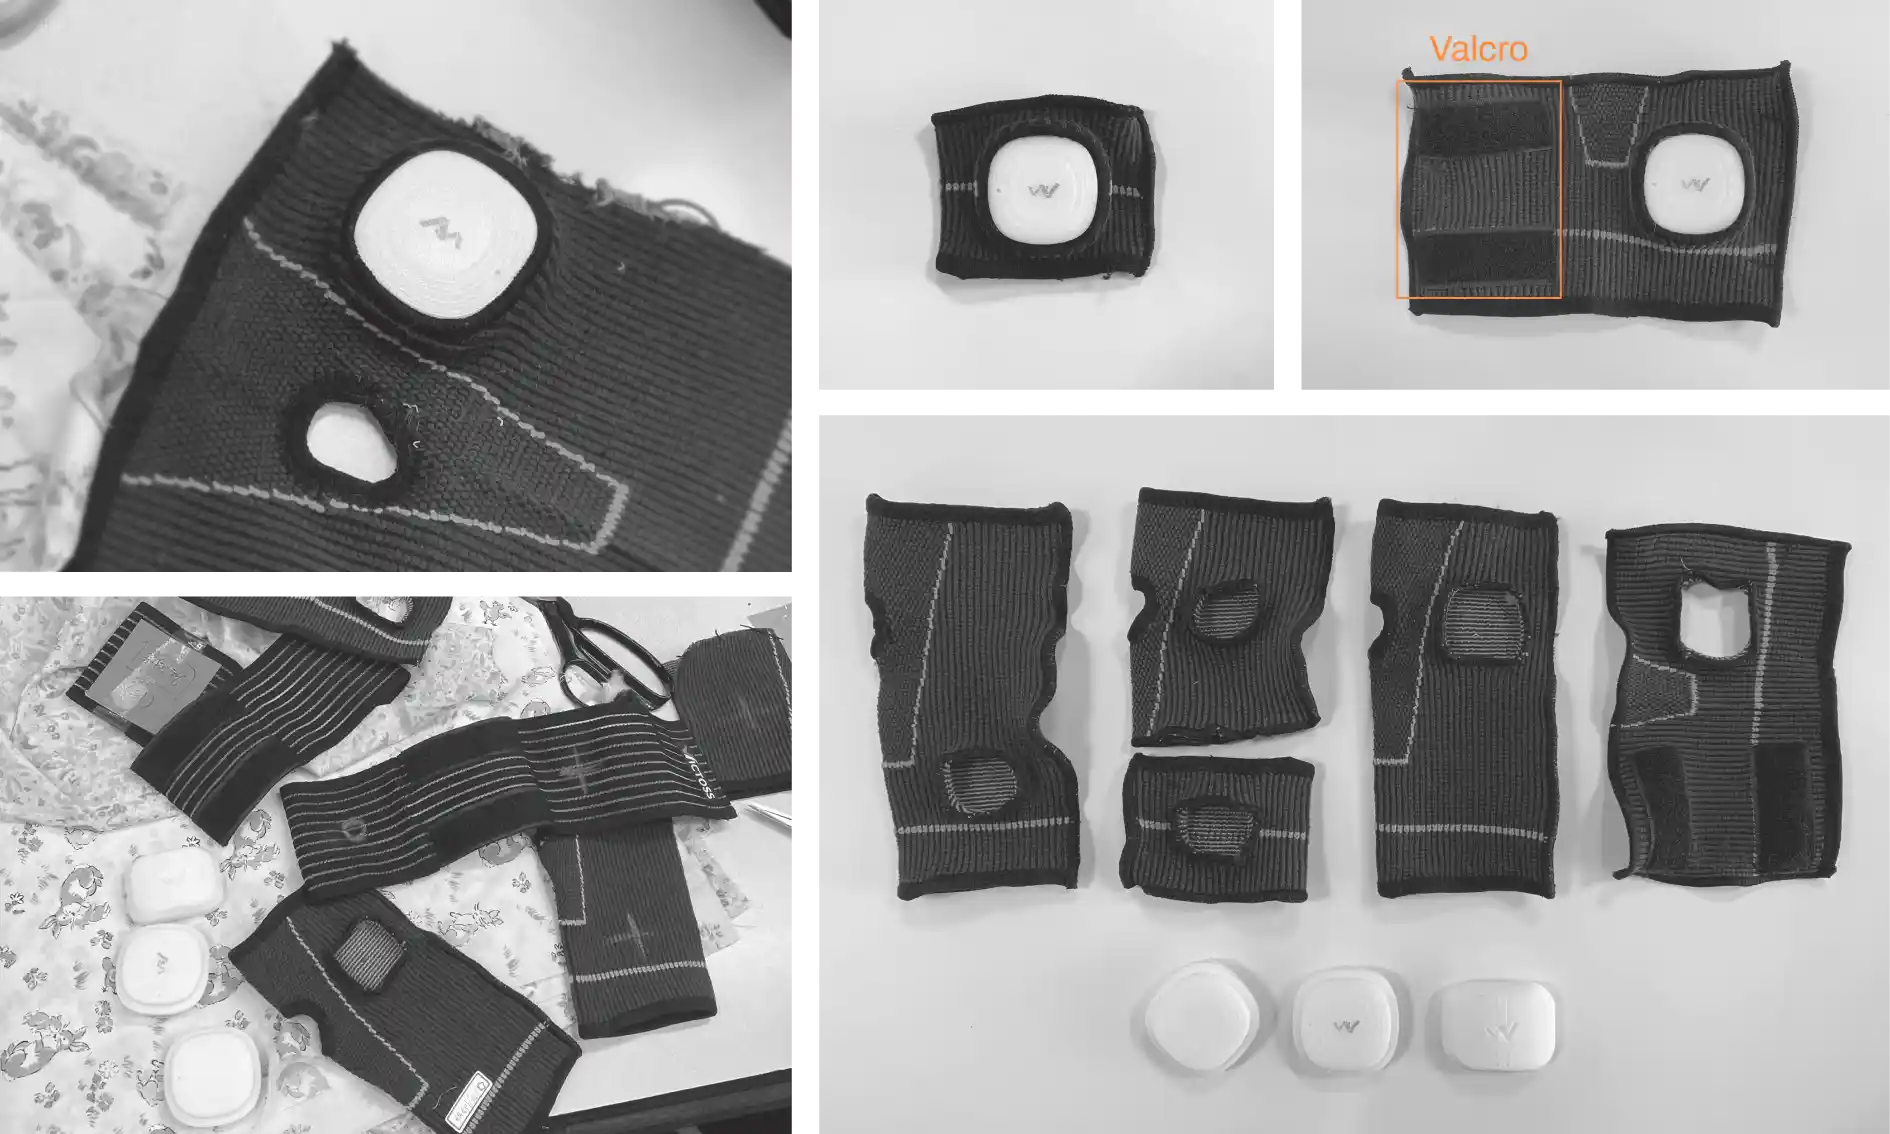
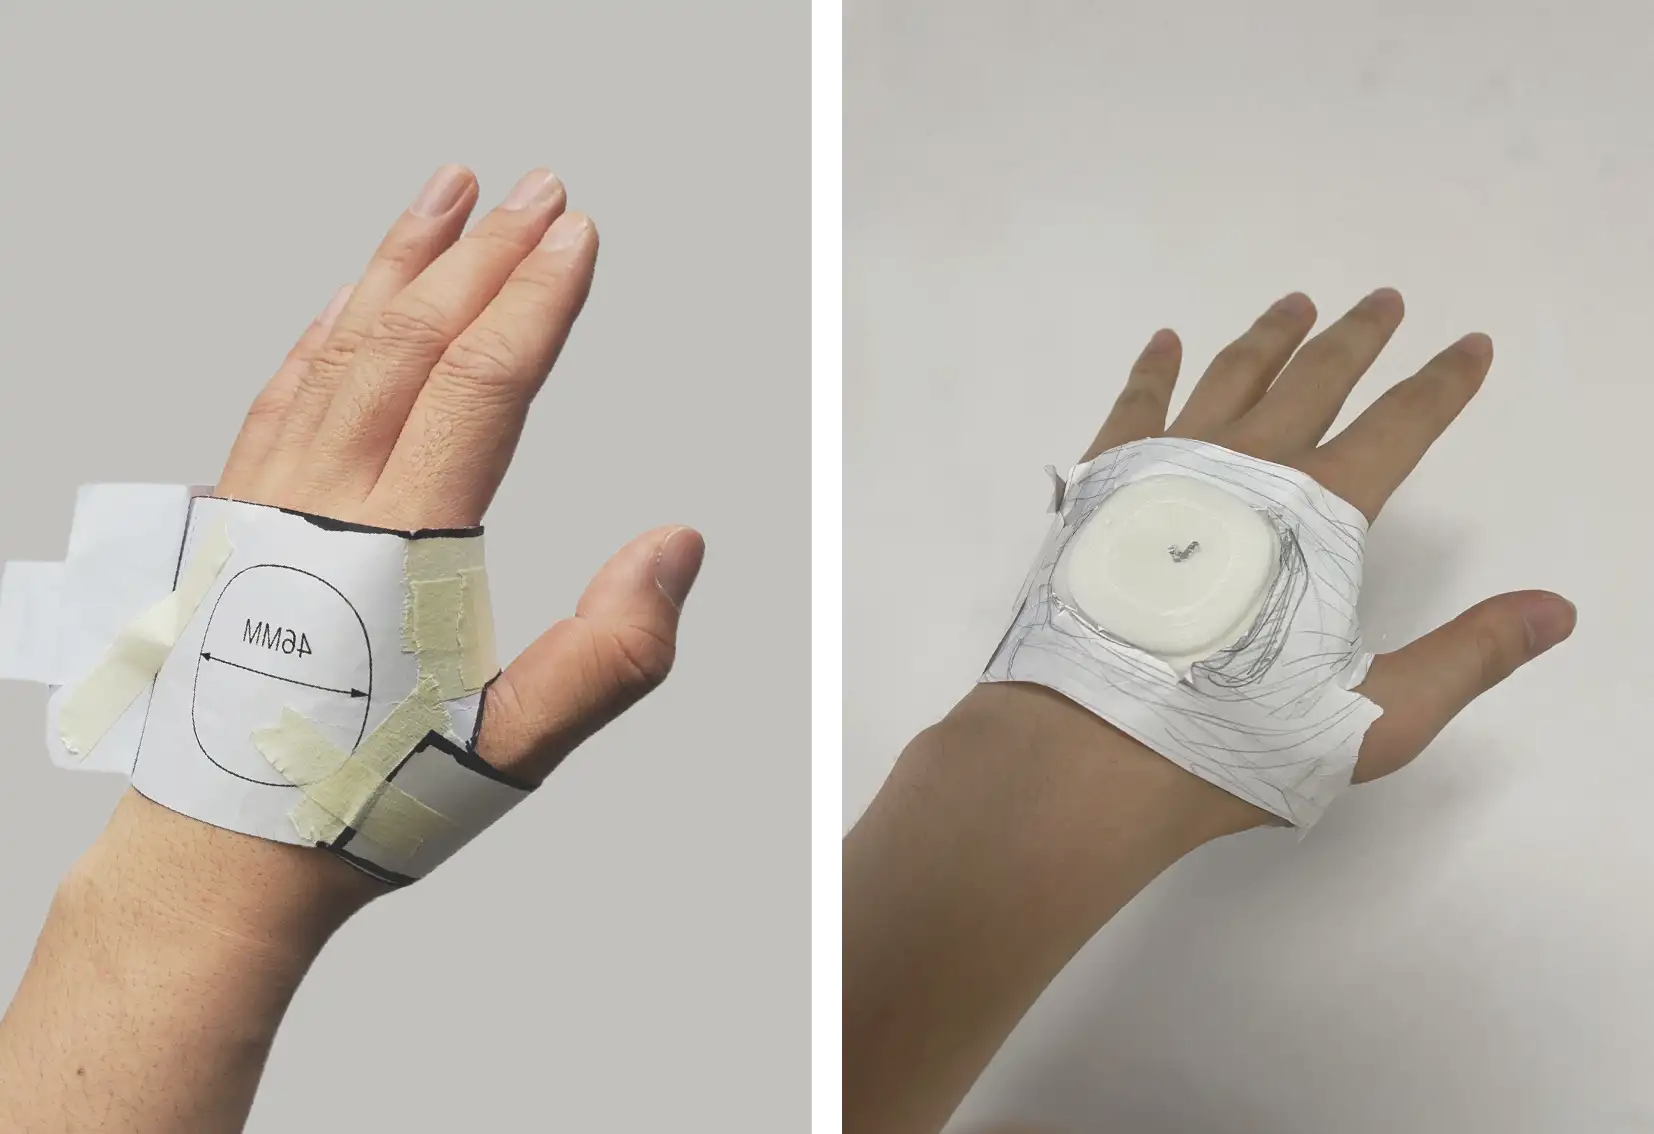
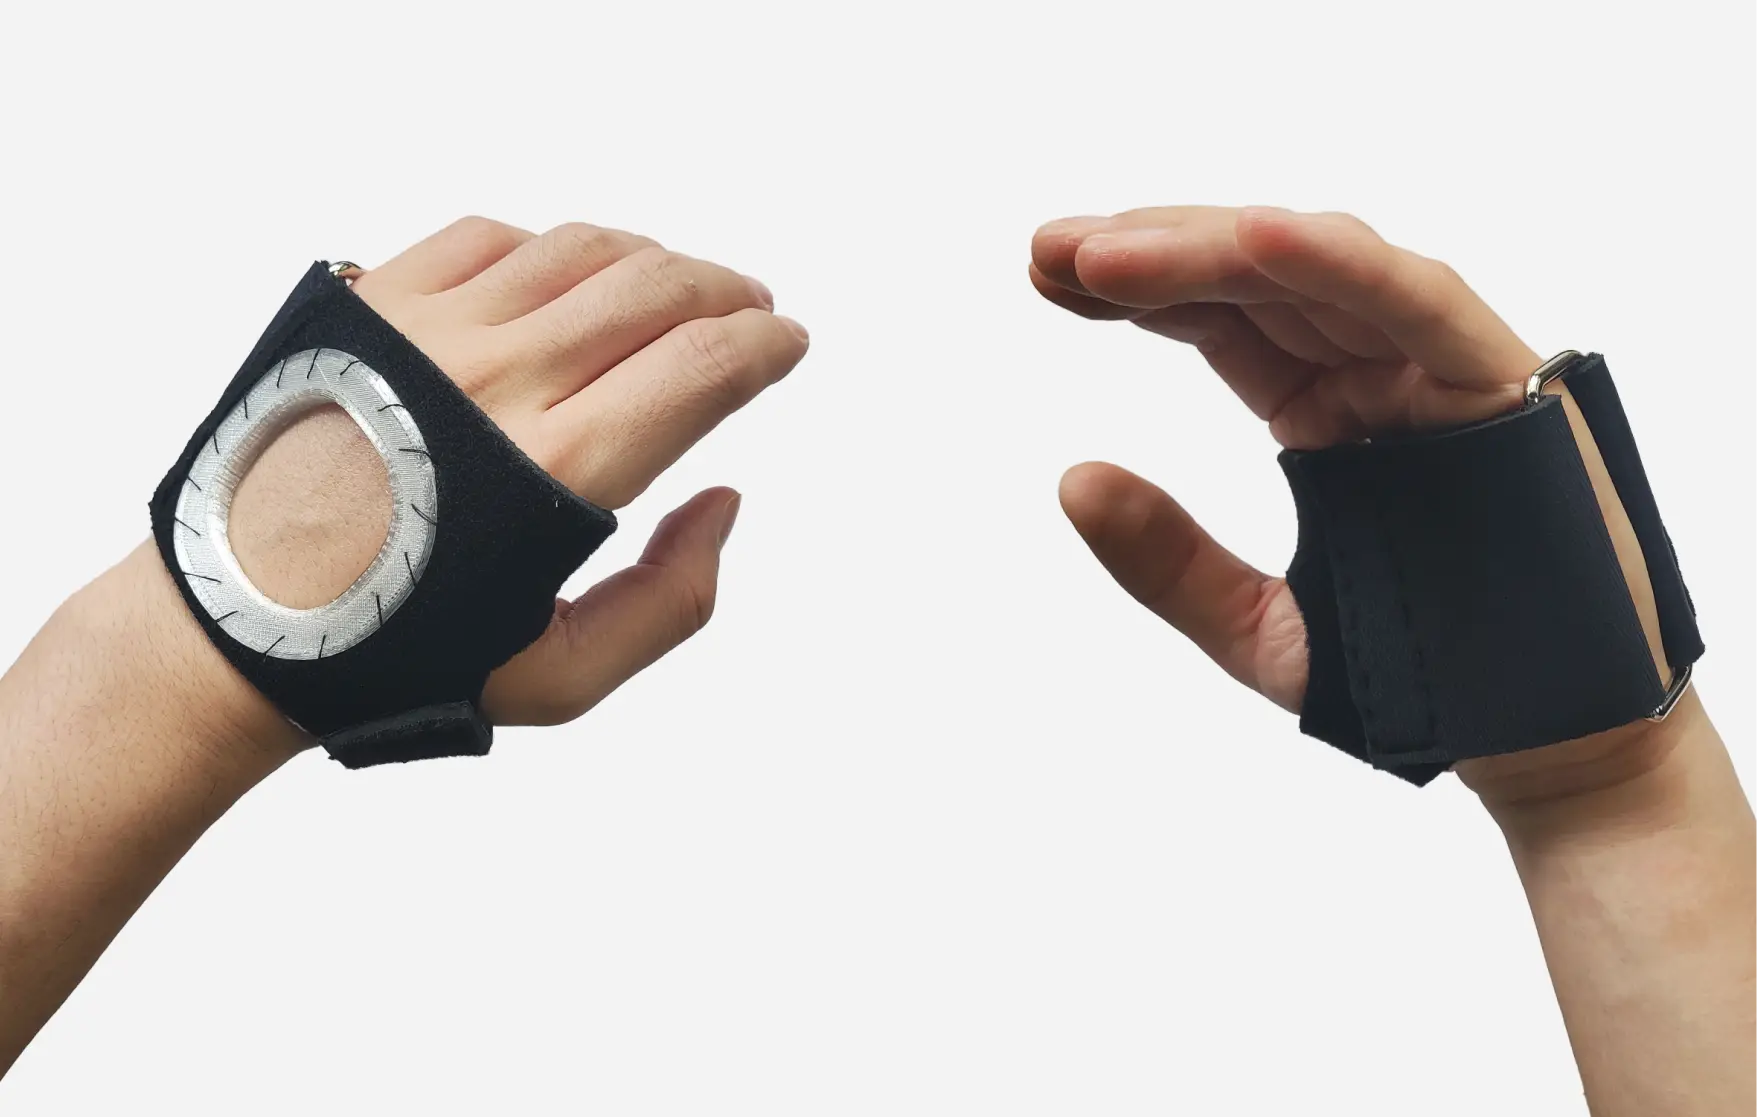
Design a glove-type holder for the backhand and test it with a paper mock-up.

Shape Study 3

Type B

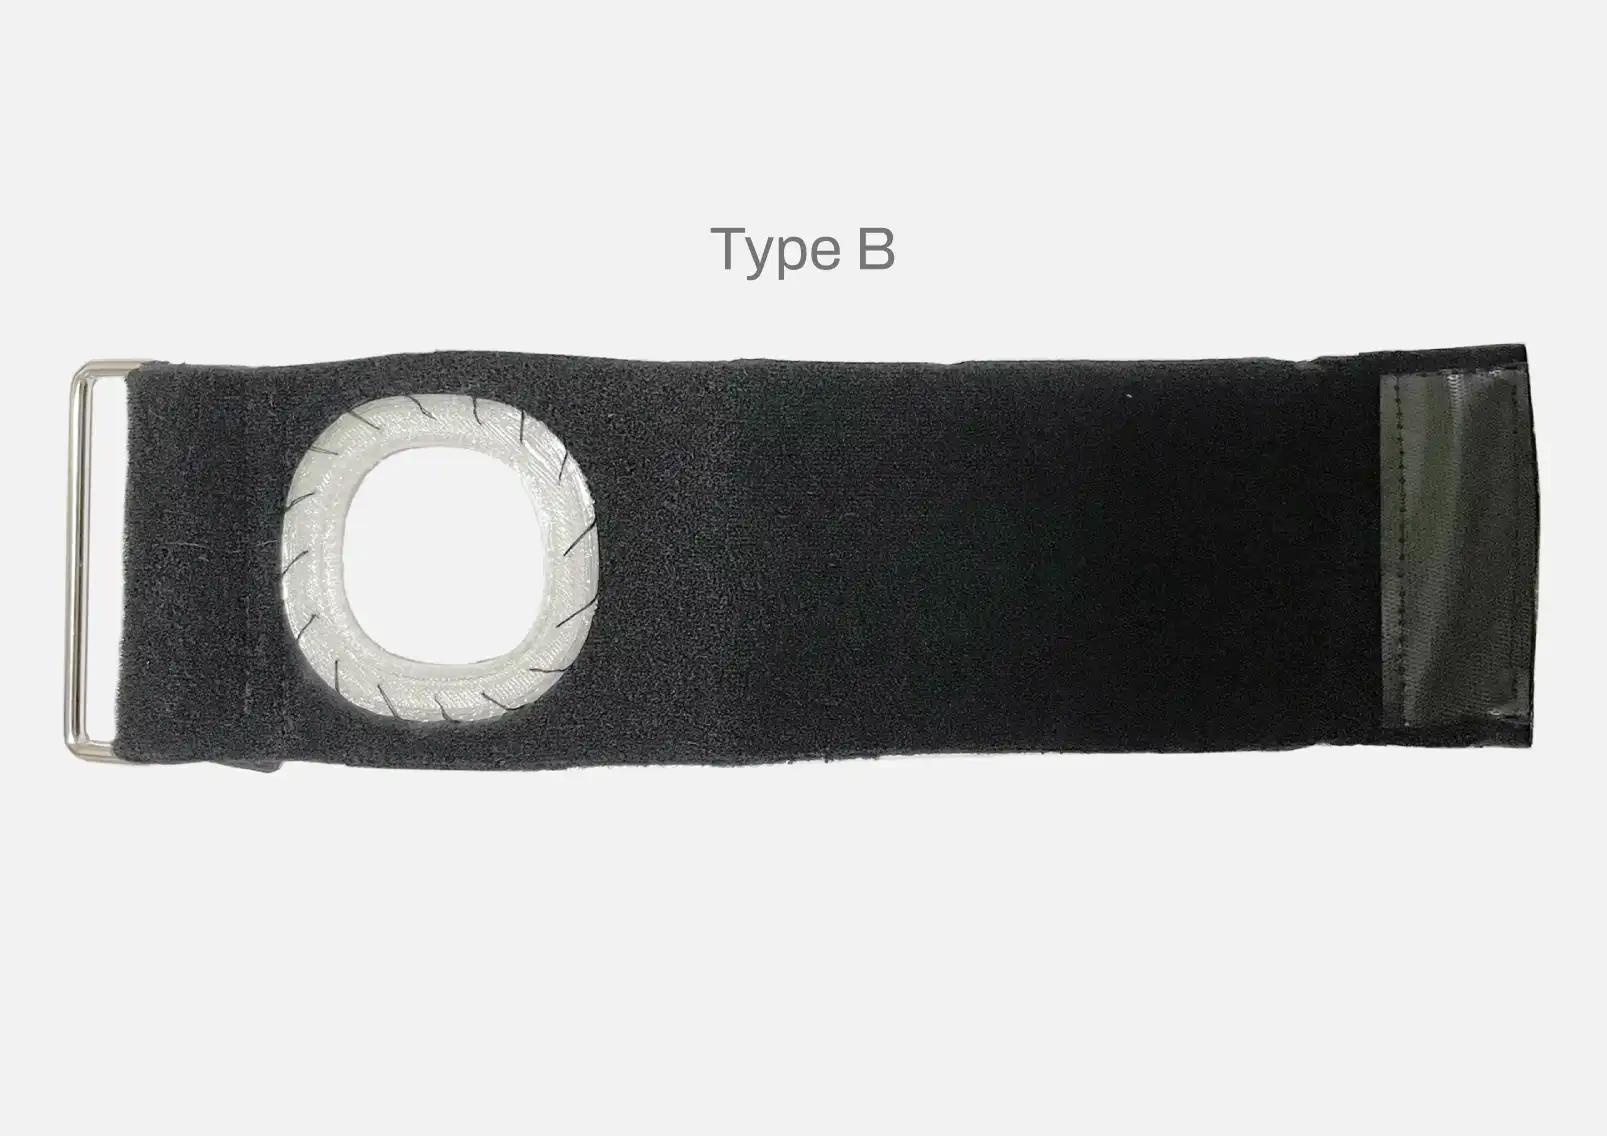
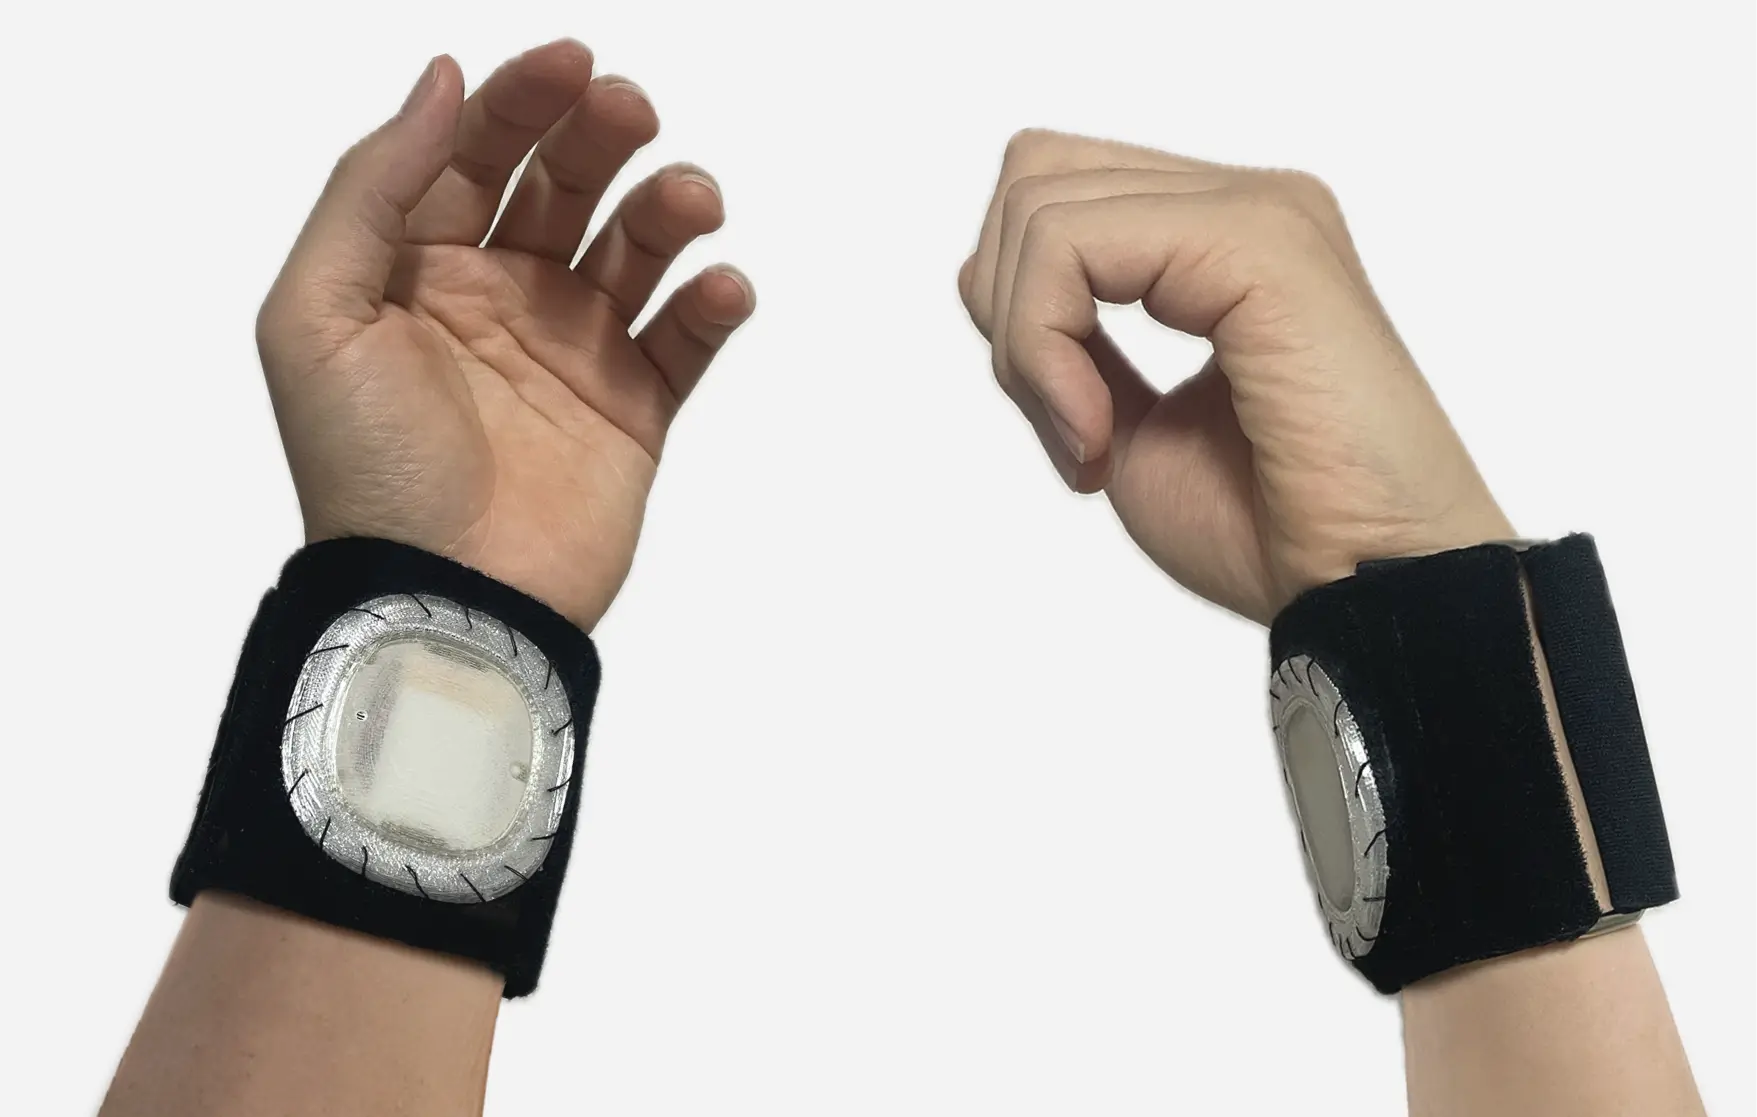
Type B is a holder for the wrist. Conduct a wearing test with a paper mock-up.

Shape Study 4

Prototyping

In order to carry out the wearing test, make prototypes of the two types. Velcro is used for wearability.

Shape Study 5

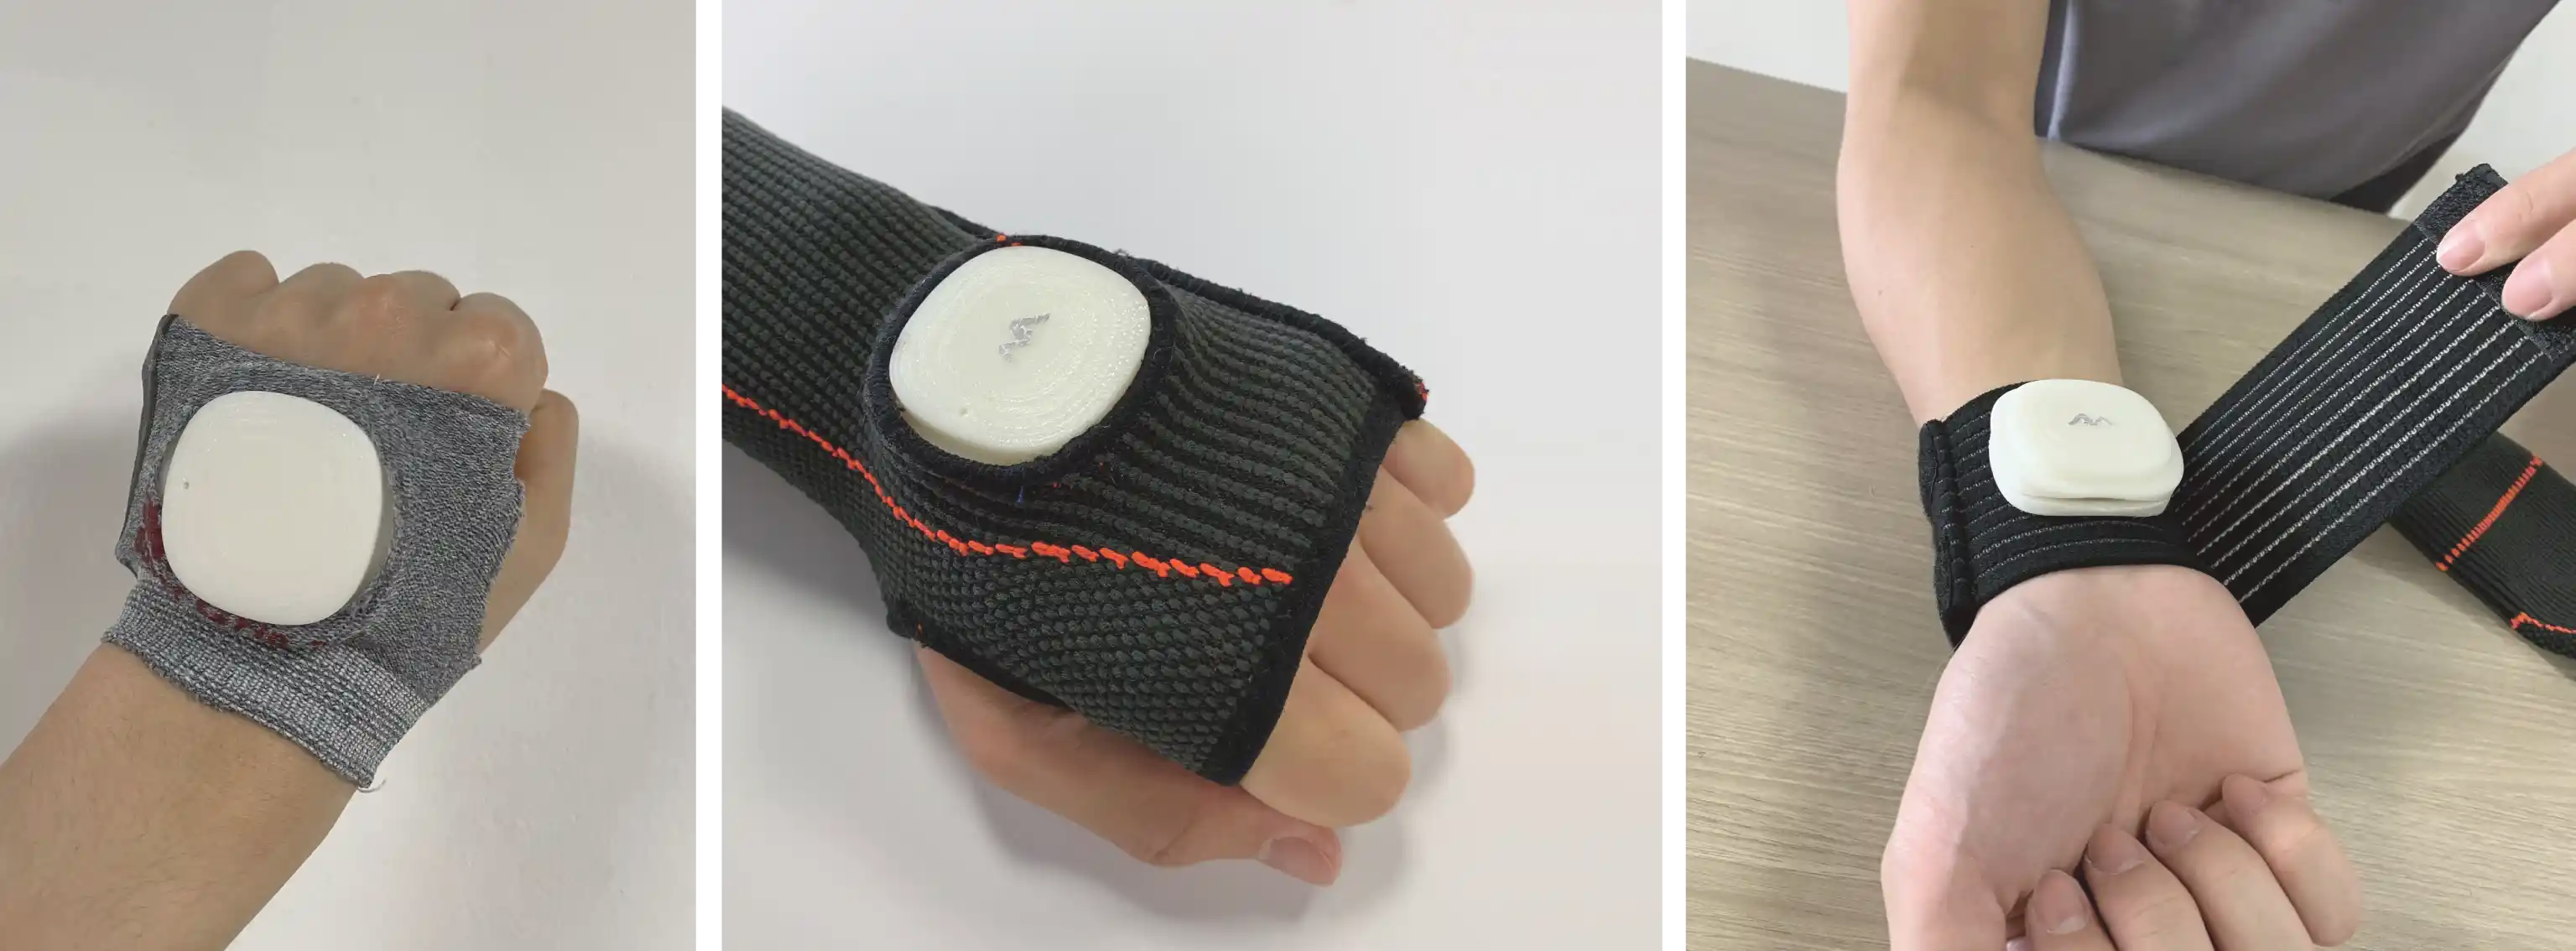
Usability Test

Velcro improves wearability, but users struggle to wear the holder alone due to a loose fit.
There is a need to add extra parts to solve this issue.

Week11

Design additional parts to improve probelms found in Week 10.

Week11 Image 1

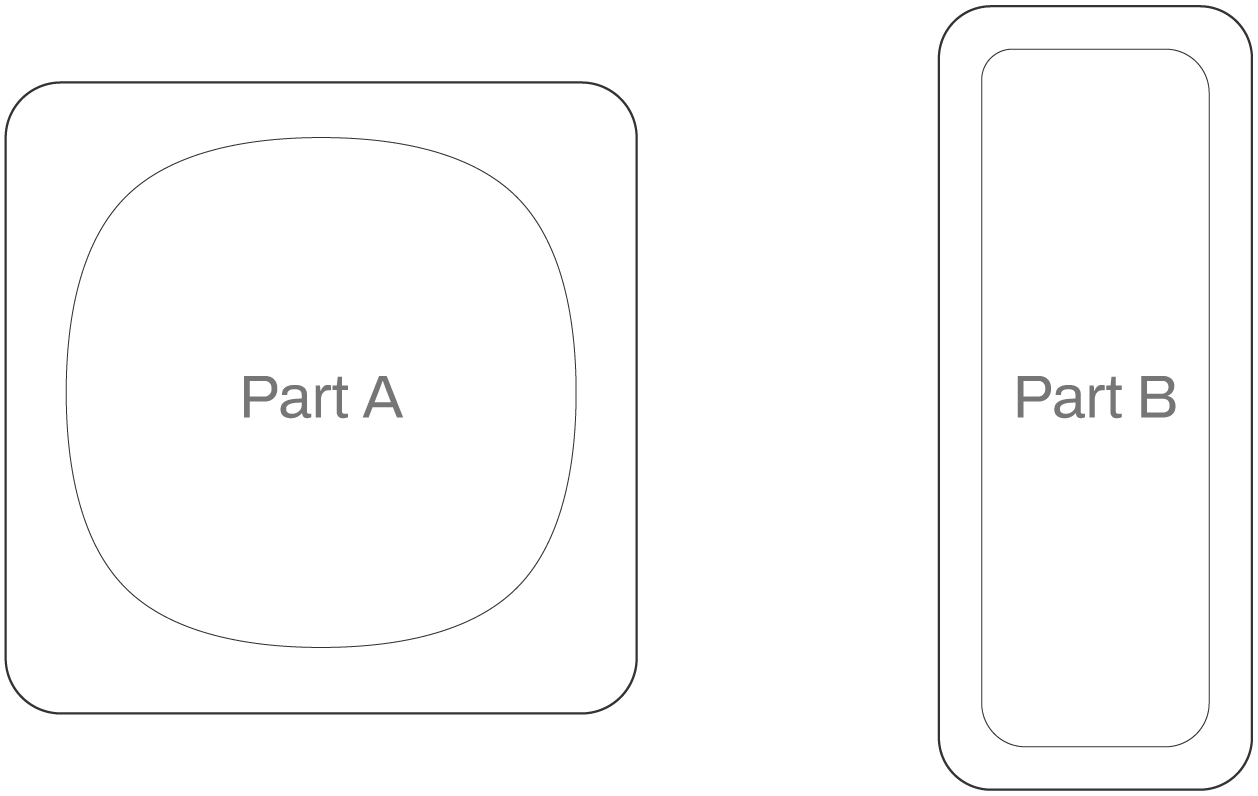
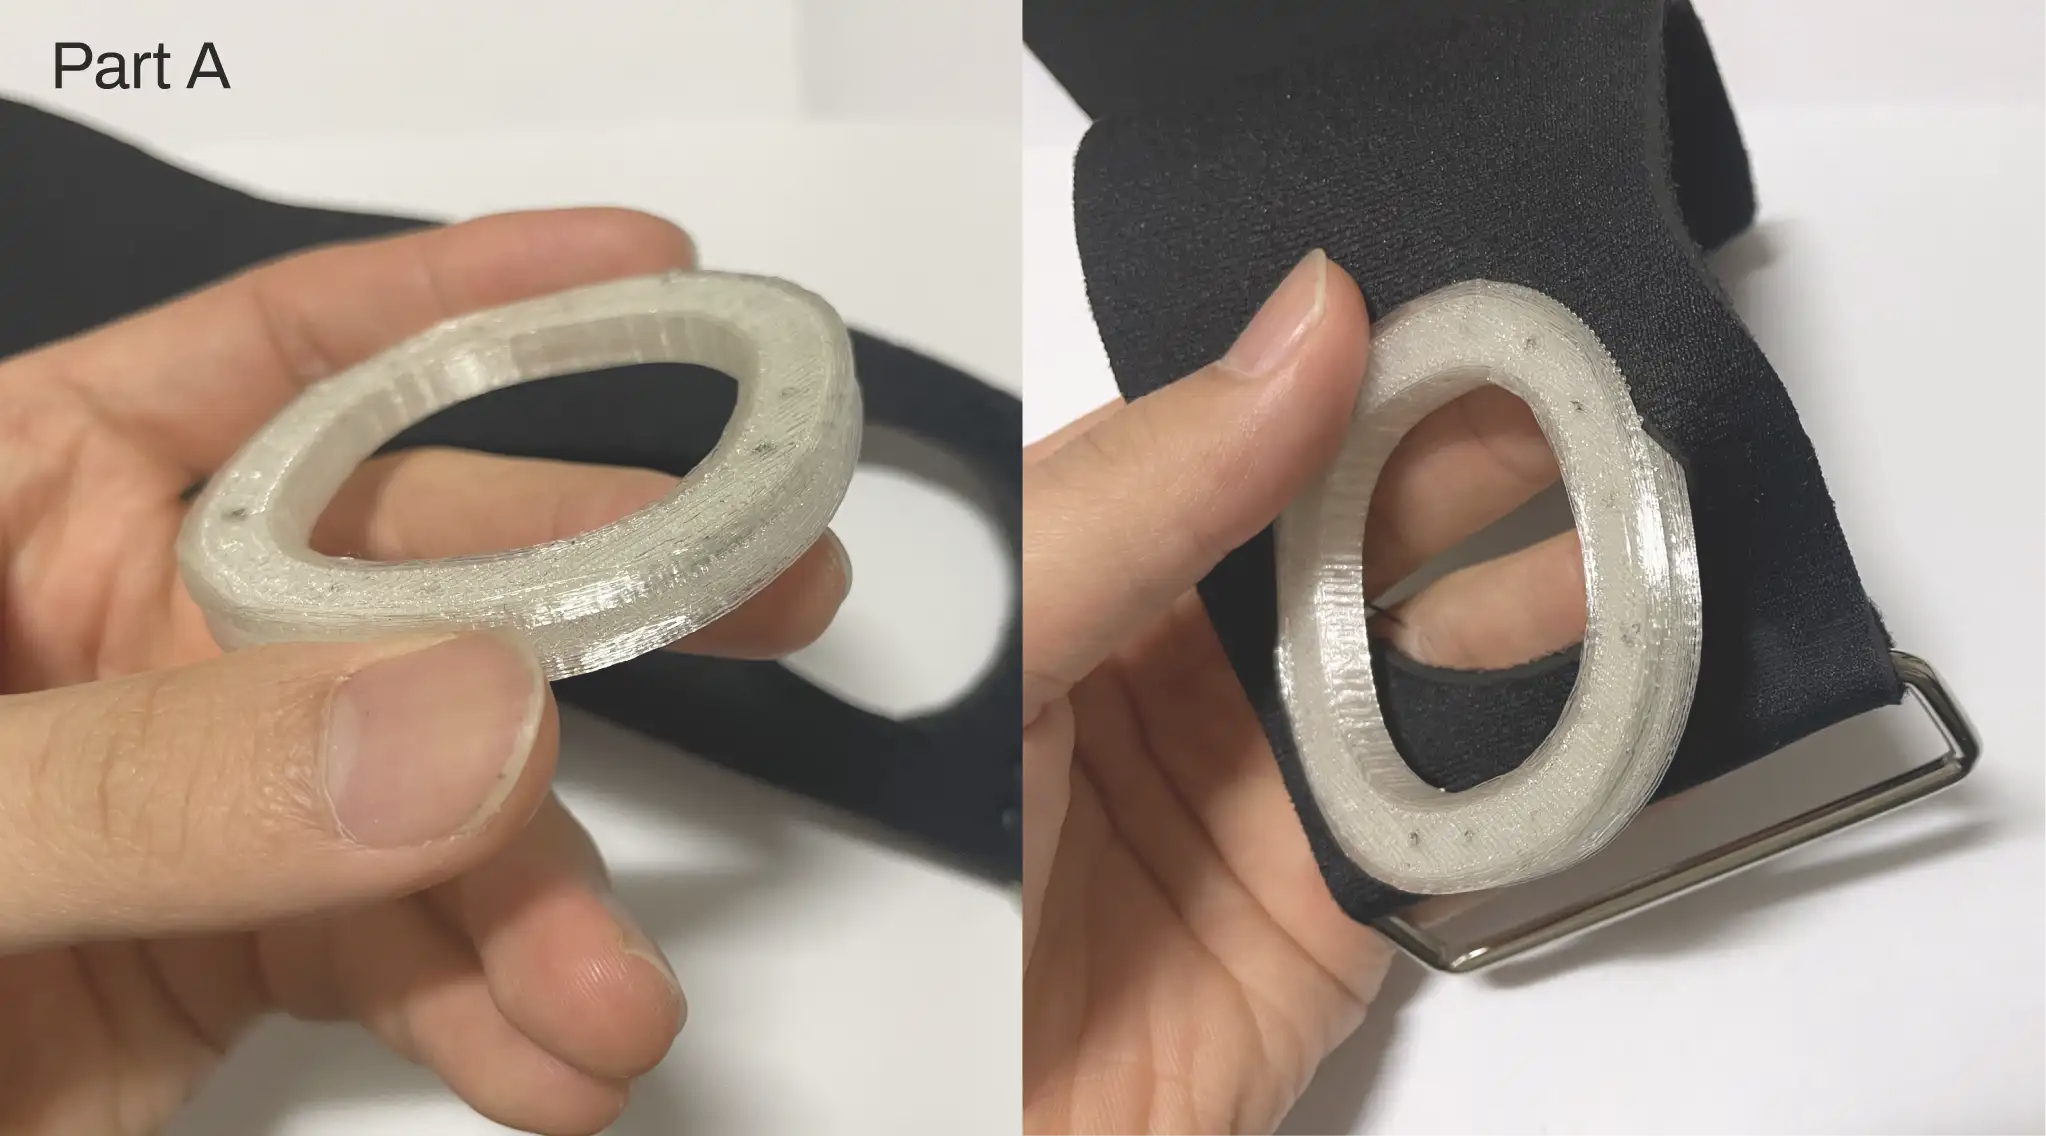
Part A is installed in the holder's hole so that the device can be tightly combined with the holder.
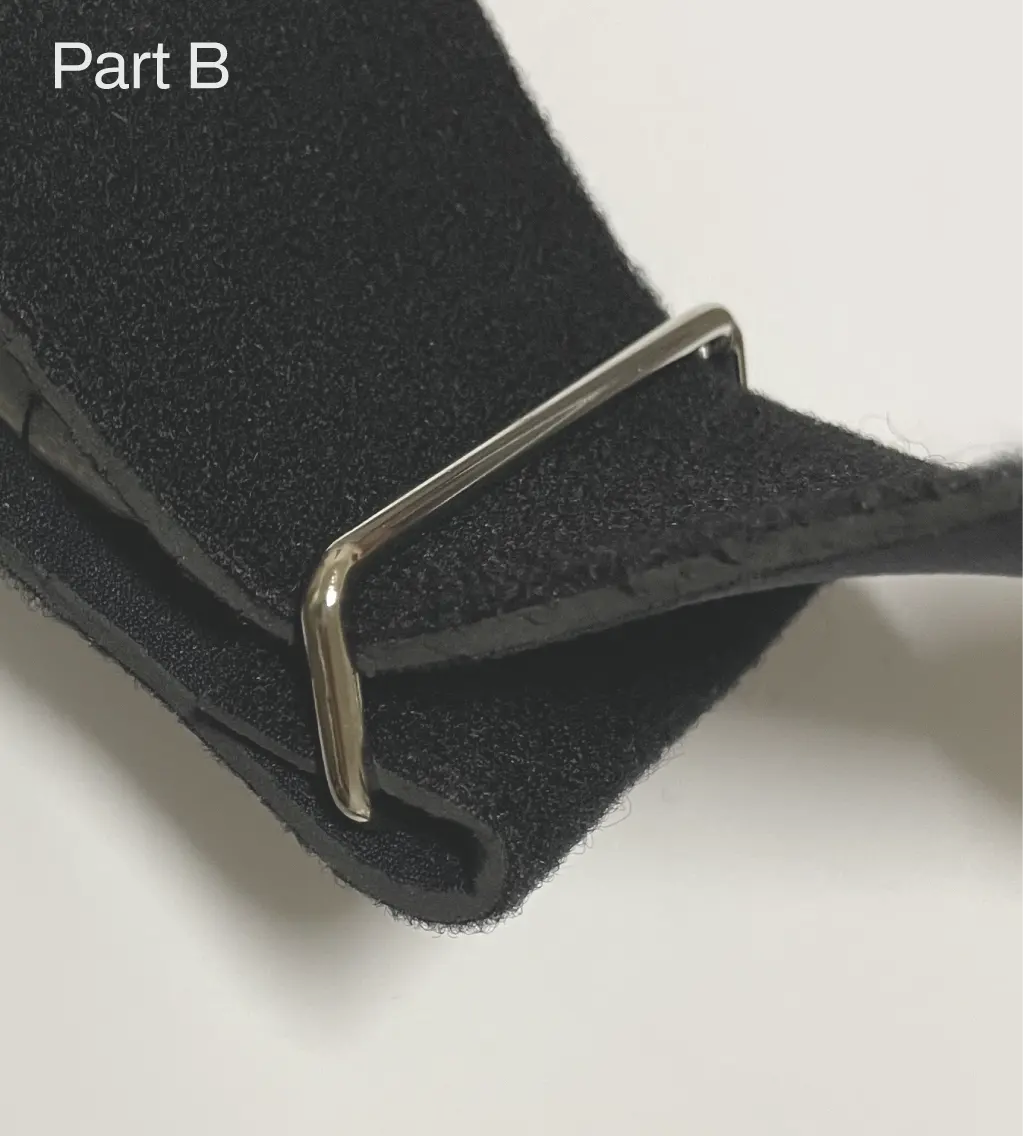
Part B improves wearability by fixing the holder once more.

Week11 Image 3 Week11 Image 4

User Testing

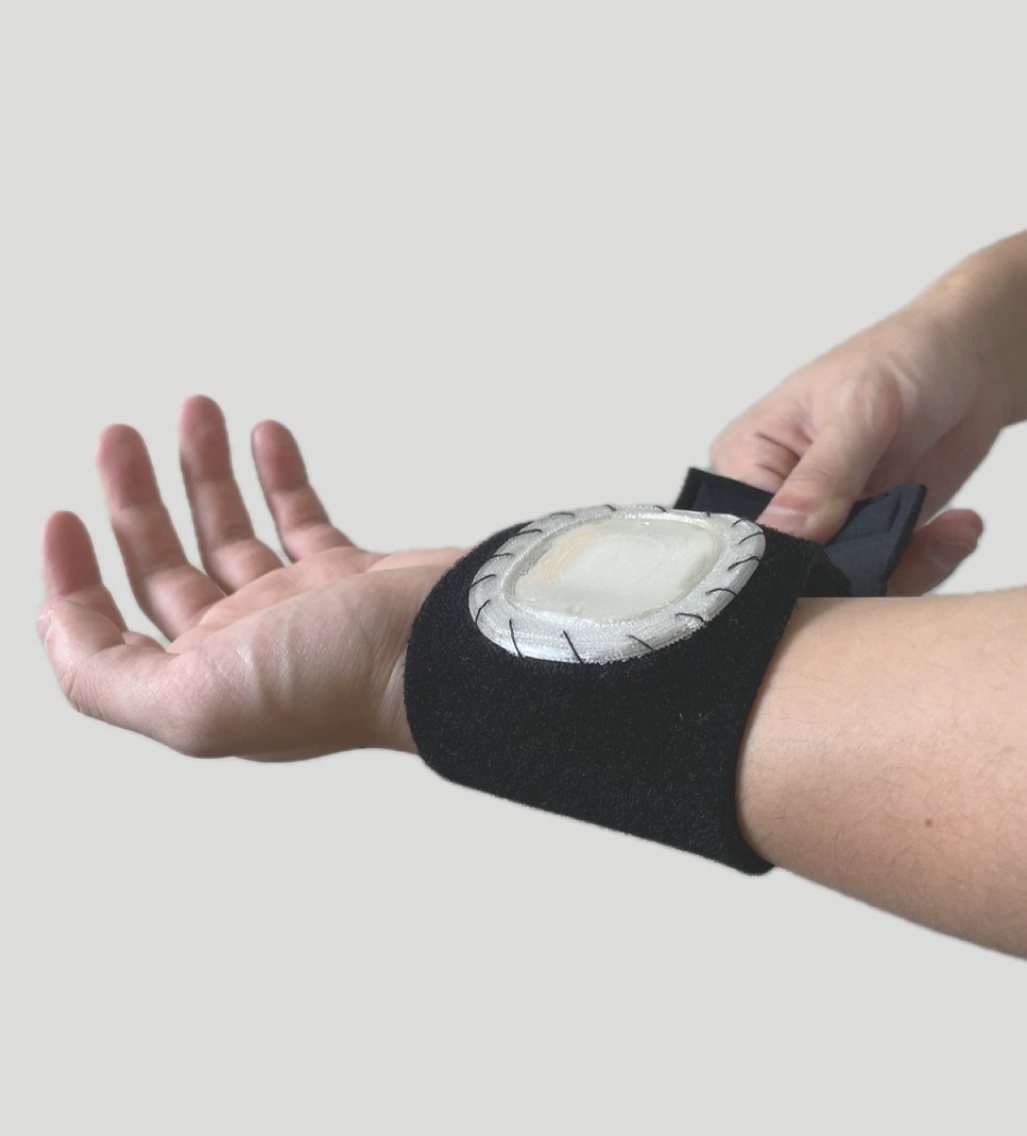
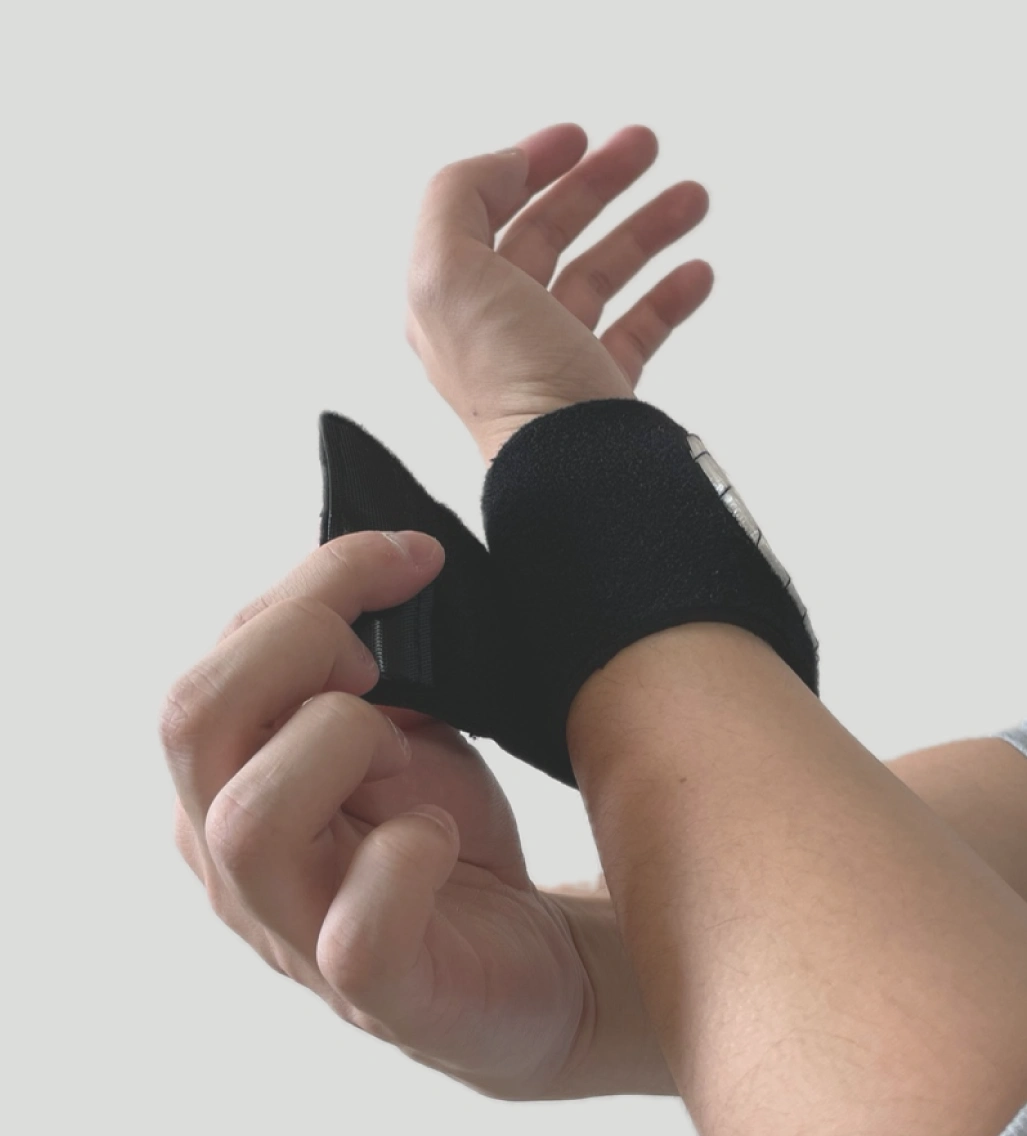
After fixing the device through Part A, the user can easily wear the holder using Part B.
The test confirmed that the wearability of the holder is improved through additional parts.

Week11 Image 5 Week11 Image 6

Week12

Final Design

Final Image 1 Final Image 2

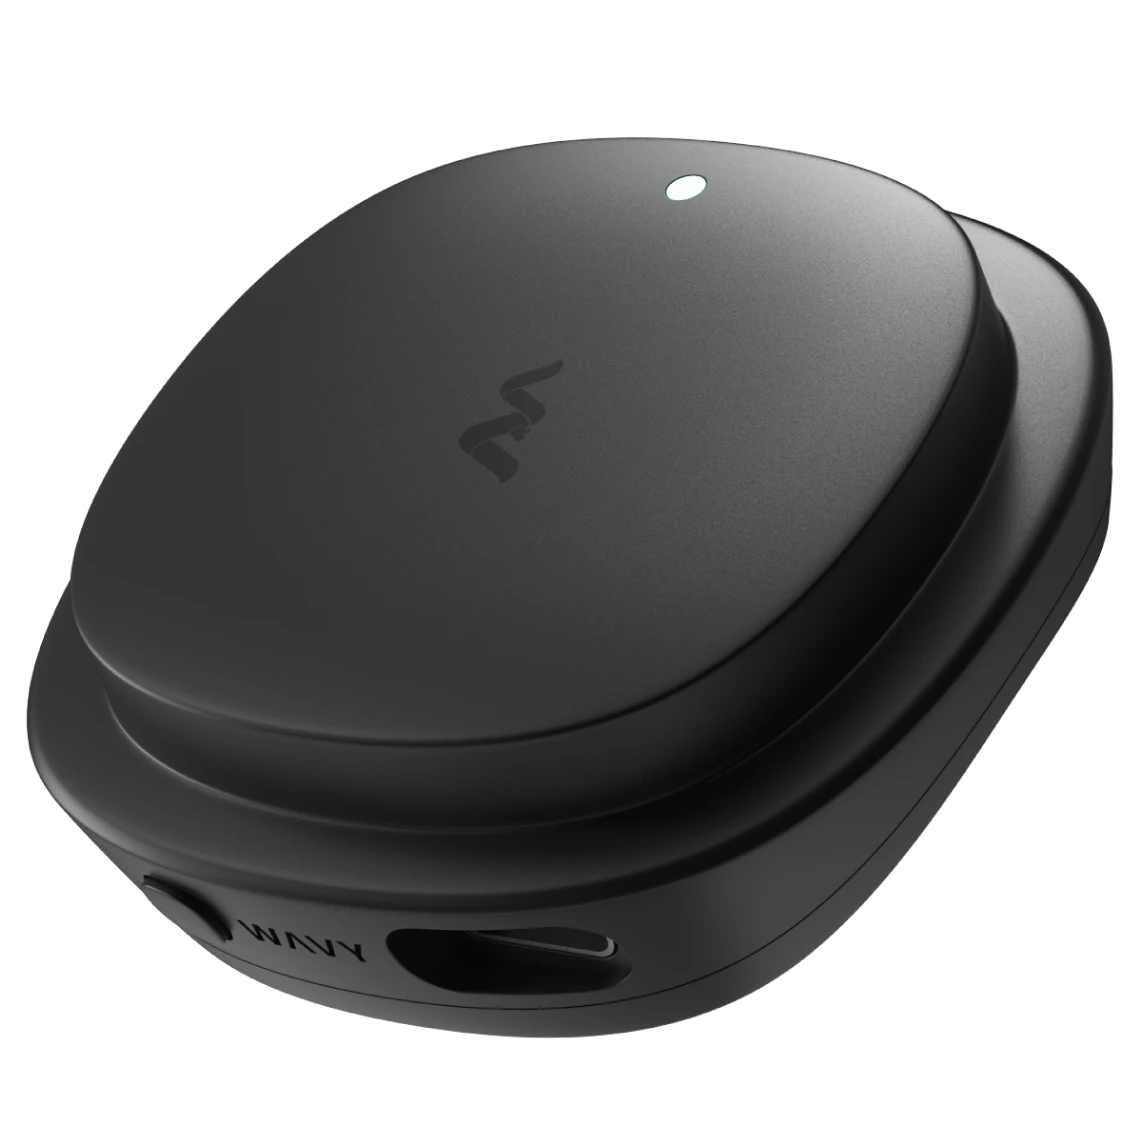
Device

Final Image 3 Final Image 4
Final Image 5 Final Image 6

Holder

Final Image 7 Final Image 8